Last updated November 18, 2026

Free written scope consultation - allowances, timeline, and change-order rules on paper before a single trade is scheduled
Driveway & Pavers Maintenance Checklist for Doral Homeowners
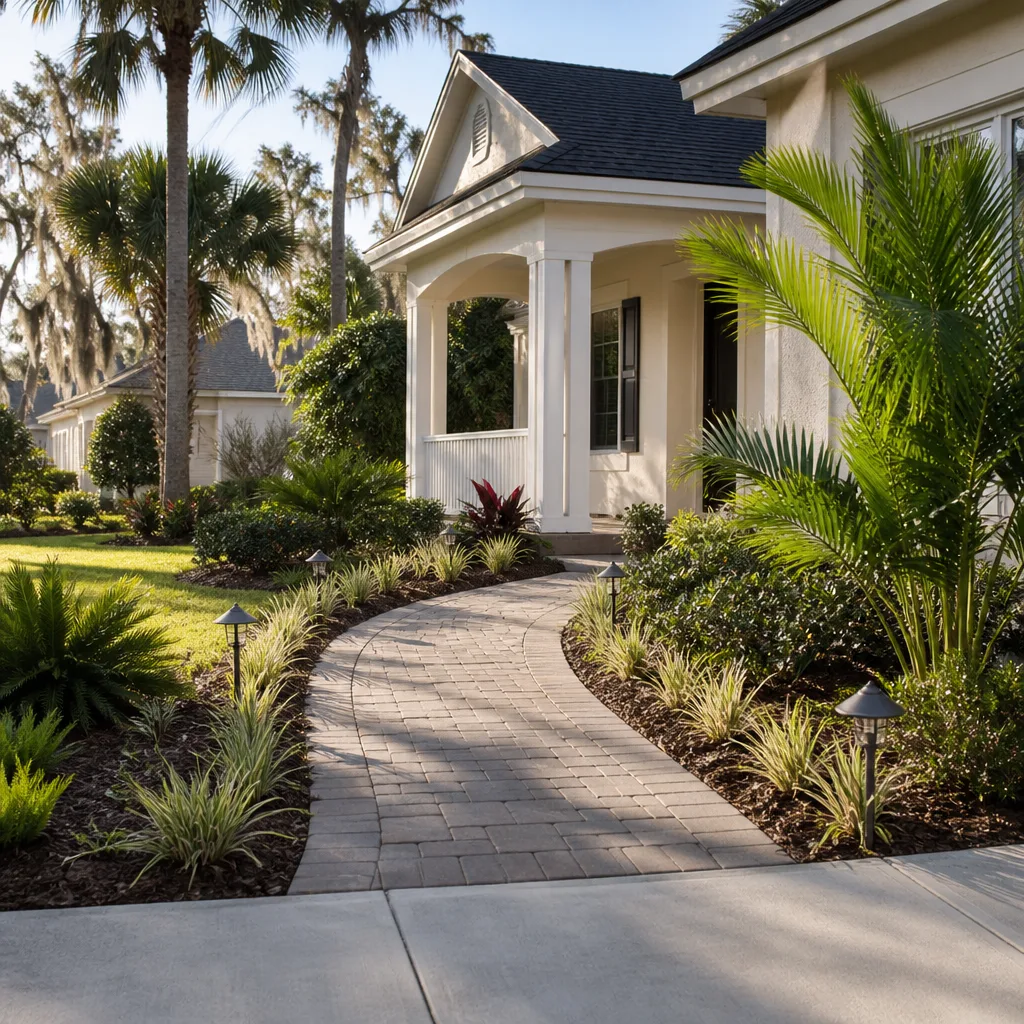
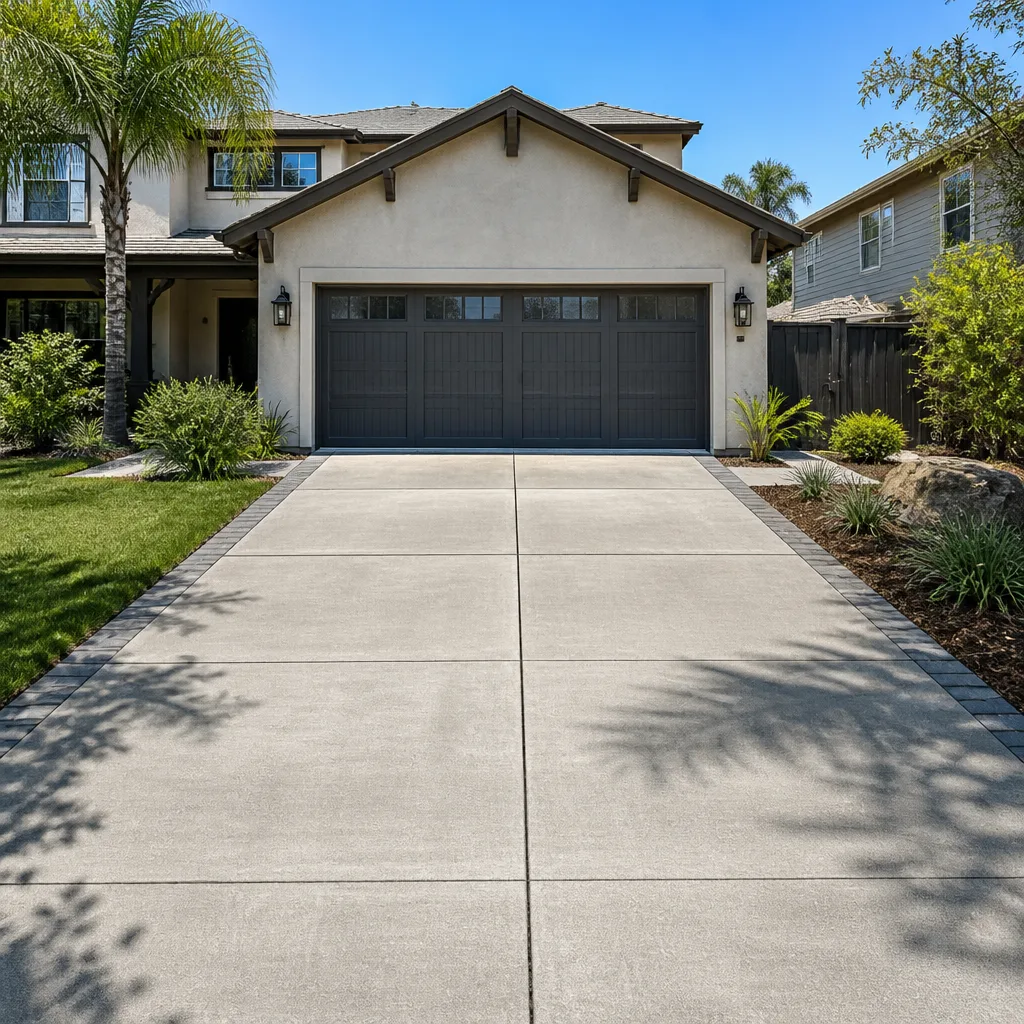
A properly installed paver driveway in Doral should last 25 years. Most replacements here happen before year ten. In nearly every case we inspect, the failure started with a maintenance step that costs under $80 and takes two hours on a Saturday morning. Not a cracked slab. Not a bad base pour. A joint that went unsanded for two seasons, or an irrigation head aimed at the same six square feet of travertine since the house was built. Doral’s climate is hard on hardscape in very specific ways, and the checklist that keeps a driveway alive here looks different from the one you’d find in Tampa or Naples. This guide lays out that checklist, cause by cause, on the schedule each cause actually requires.
Quick Answer
Maintain a Doral paver driveway by inspecting joint sand every quarter (fire ant activity accelerates loss), re-sanding with polymeric sand when joints drop below 1/8 inch, testing drainage slope annually with a line level, cleaning efflorescence with a pH-neutral product rather than acid, and re-sealing travertine, concrete, and brick pavers on schedules specific to each material under South Florida UV. Each task targets a distinct failure mode, and skipping any one of them shortens driveway life by years, not months.
Styles & brands we work with
- Kitchen remodeling
- Bathroom remodeling
- Home additions & ADU
- Roofing
- Windows & doors
- Driveway & pavers
- Fence
Table of Contents
- Why Doral Driveways Fail Faster Than Anywhere Else in Florida
- The Quarterly Joint-Sand Check (and the Ants That Make It Urgent)
- Efflorescence: The White Bloom on Your Pavers and What Actually Removes It
- Polymeric Sand: Top-Dress vs. Full Re-Sand, With Real Numbers
- Choosing a Sealer by Paver Type: Travertine, Concrete, and Brick
- The Annual Drainage Slope Check With a $12 Line Level
- The Full Annual Maintenance Calendar for Doral
- Common Mistakes to Avoid
Why Doral Driveways Fail Faster Than Anywhere Else in Florida
Driveway failure in Doral is rarely about traffic. A residential driveway takes a handful of car movements a day, which is nothing compared to the compressive strength of a properly bedded paver. What kills these driveways is the environment underneath and around them.
Three forces do most of the damage, and they operate on different timelines:
- Limestone-heavy irrigation water. Most of Doral sits over and near the Miami Limestone formation, and the municipal and well water that feeds irrigation systems carries dissolved calcium. When that water evaporates off paver surfaces, it leaves mineral deposits behind. Over a few seasons, those deposits work into the surface and into the joints.
- Afternoon UV intensity. South Florida gets roughly 250 sunny days a year and some of the highest UV index readings in the continental United States. Sealers break down under that load faster than the manufacturer’s five-year estimate printed on the can, which was almost certainly written for a milder climate.
- Ant-driven sand migration. This is the one most homeowners never hear about until the pavers start rocking. Imported red fire ants (Solenopsis invicta) nest in the sand layer between the pavers and the bedding course. Their tunnels hollow out the bed from below, the joint sand drains down into the voids, and the paver above loses its support.
Each of those causes has its own countermeasure and its own schedule. Treating them as one generic “pressure wash and reseal” job is exactly how a 25-year driveway becomes a nine-year replacement. If you’d rather hand the whole inspection to someone with a trained eye, our Driveway & Pavers in Doral page covers what a professional assessment includes.
The Quarterly Joint-Sand Check (and the Ants That Make It Urgent)
Joint sand is the structural glue of a paver system. It locks each unit against its neighbors, spreads load across the bed, and blocks water from channeling straight into the base. When joints lose sand, pavers shift, edges chip, and the whole surface starts to move underfoot. In Doral, sand loss happens faster than in most of the country because fire ants actively remove it.
Walk your driveway once every three months with a stiff broom and a five-gallon bucket of joint sand. Here’s the inspection sequence we recommend:
- Sweep the surface clean and look at every joint line. Any joint where the sand sits more than 1/8 inch below the paver chamfer needs attention.
- Probe the sandy joints with a screwdriver handle. Tap firmly. A hollow sound or a soft give means the bed underneath has been disturbed, and that’s an ant signature, not normal settling.
- Look for small mounds of fine sand at the edges of the driveway, along the expansion joint against the garage, or between pavers near planting beds. Fire ants push excavated sand to the surface; those little piles are the tell.
- Re-sand the low joints with fresh joint sand, sweep it in, and mist lightly to settle it.
- Treat active ant mounds with a bait labeled for imported fire ants. Bait works better than surface spray here because the colony is under the pavers, not on them. Broadcast granular products labeled for lawn use around the perimeter also help.
The ants don’t just move sand. They create voids. In our experience, a paver bed that has hosted an active colony for two seasons will show visible rocking in a two- to three-square-foot area, usually near a driveway edge or a planting bed. That’s the point where patching sand stops working and the base itself needs a look.
Efflorescence: The White Bloom on Your Pavers and What Actually Removes It
Efflorescence is the chalky white haze that appears on paver surfaces, usually in irregular patches. It’s salt. Specifically, it’s the mineral content from irrigation water, drawn to the surface as moisture evaporates, left behind as a crust. In Doral, limestone-rich water makes it nearly inevitable on unsealed pavers within two or three years.
The instinct is to reach for an acid-based cleaner, because that’s what a lot of online advice says. Don’t, at least not first. Acid will strip efflorescence from some surfaces, but on travertine and on many concrete pavers it also etches the face, dulling the finish and opening the surface to faster staining down the road. It’s a solution that works once and costs you twice.
What actually works, in order of escalation:
- Dry brushing. A stiff-bristle brush removes loose bloom without touching the surface. Try this first.
- pH-neutral paver cleaner. Dilute per label, apply, dwell for the label time, and rinse thoroughly. This handles light to moderate bloom safely on all three paver types. Brands labeled specifically for efflorescence removal and pH-neutral are the right category.
- Specialty efflorescence remover, only if the neutral cleaner fails and only after a test patch in an inconspicuous corner. Follow the dilution exactly. More concentrated is not better; it’s a new problem.
If bloom keeps coming back in the same spots, the source isn’t the paver surface. It’s moisture moving through the system. That usually points to a joint-sand deficit, an irrigation head aimed directly at the pavers, or a drainage issue. Fixing the source beats cleaning the symptom every spring. Neutralizing the irrigation water itself with a filter on the system is worth pricing out if the bloom on your driveway keeps returning.
Polymeric Sand: Top-Dress vs. Full Re-Sand, With Real Numbers
Polymeric sand is joint sand with a polymer binder added. Once it cures, it hardens slightly and resists washout and ant excavation far better than plain sand. It is not permanent. Under Doral’s UV and rain cycles, it degrades. The question is when to top-dress and when to pull the old material and start clean.
Top-dress when joints are 1/4 to 1/2 inch low but the existing polymeric sand is still bound and intact. Sweeping fresh polymeric sand into the joints and misting to activate it bonds the new material to the old.
Full re-sand when the existing polymeric has gone to powder or loose sand, when more than about a third of the joints have opened, or when you can press the old binder out with a fingertip. In that case, the joints need to be cleaned out to roughly the depth of the paver thickness before fresh sand goes in.
Material cost is the part most homeowners want in writing before they start: polymeric sand runs $0.30 to $0.55 per square foot for the product alone, depending on brand and joint width. A standard two-car driveway of 400 square feet means $120 to $220 in material for a full re-sand, or roughly half that for a top-dress. Labor is the variable if you hire it out. Polymeric sand also has weather rules: it needs a dry surface, no rain for the cure window (typically 24 hours), and it should not be installed into joints that are wet. In Doral, that means watching the afternoon storm pattern and working mornings between November and April.
One more point. If you’re re-sanding, don’t skip the ant treatment first. Sealing fresh polymeric sand over an active ant colony means they tunnel through it within weeks, and you’ve spent the material cost twice.
Choosing a Sealer by Paver Type: Travertine, Concrete, and Brick
Sealer is where homeowner choices most often go wrong, because the products are not interchangeable. Travertine, concrete pavers, and clay brick all behave differently under film-forming sealers, and South Florida UV accelerates the failure of the wrong choice. Here’s how we think about it.
- Travertine. Travertine is a natural stone with visible pores and a matte finish intended to stay breathable. It needs a penetrating sealer rather than a film-forming one. Look for a solvent- or water-based penetrating sealer designed for natural stone, and expect to reapply every 2 to 3 years under Doral sun. Film-forming acrylics on travertine can trap moisture and cause spalling, and they tend to yellow.
- Concrete pavers. Concrete pavers accept either penetrating or film-forming acrylic sealers. Penetrating sealers leave the natural look and require reapplication every 2 to 4 years. Acrylic film-formers darken the color and give a wet look, but under South Florida UV they break down faster than the can claims; expect to strip and reapply every 3 to 5 years, and budget for the stripping.
- Brick (clay) pavers. Brick is dense and takes a penetrating sealer well. Solids content around 15 to 20 percent is typical for penetrating products. Reapplication every 3 to 4 years is realistic. Film-forming sealers on brick hold up poorly in our climate and tend to trap moisture, which leads to efflorescence.
Whatever the material, test on a small hidden area before committing to the driveway. A sealer that looks right on a concrete sample can look entirely different on travertine.
The Annual Drainage Slope Check With a $12 Line Level
Water is the enemy that starts most paver failures, and slope is the thing that moves water. A properly sloped driveway sheds water to the street or a drainage channel at a rate of roughly 1/8 to 1/4 inch per horizontal foot. Over a 20-foot driveway, that’s 2.5 to 5 inches of fall. When slope reduces, water ponds, and ponding accelerates every other failure mode on this list.
The tool is a line level, a cheap plastic tube that clips to a string. Here’s the annual check:
- Stretch a string taut from the garage threshold to the street edge, along the driveway centerline.
- Clip the line level to the middle of the string and adjust the string ends until the bubble is centered.
- Measure from the string down to the paver surface at both ends with a tape measure. The difference is your rise.
- Divide the rise by the run in the same units. A 3-inch rise over a 20-foot run is 3/240, or 1/80, which is about 1/8 inch per foot and acceptable. Anything under 1/8 inch per foot is a drainage problem.
- Repeat across the driveway width, from one side to the other, to check cross-slope toward a drain or swale.
Here’s the part most guides miss. A slope variance over 1/8 inch per foot is a symptom, but the diagnosis matters. If the pavers themselves move but the slope averages out, you’re looking at surface settlement. If the whole field has shifted and the slope no longer meets spec, the base beneath has failed, and no amount of re-sanding fixes a failed base. That’s a different scope of work. If you’re adding to existing hardscape, the Home Additions & ADU in Doral team can help you plan drainage so the new work doesn’t load water onto the old.
The Full Annual Maintenance Calendar for Doral
Here’s how the tasks stack across a year. Adjust for your specific paver material and irrigation exposure, but this is the pattern we recommend to Doral homeowners.
- January through March (dry season). Full driveway inspection with a screwdriver tap test. Re-sand low joints with polymeric sand. Clean any efflorescence after the humidity recedes. This is the window for full re-sand or sealer reapplication because the weather is dry and forecastable.
- April through June (shoulder season, UV ramping up). Second joint-sand check. Ant bait application around the perimeter if you saw activity in spring. Wash the surface with a pH-neutral cleaner and set a spring baseline for efflorescence.
- July through September (rainy season). Third joint-sand check, especially after heavy rain events. Watch for standing water and check drainage slope mid-season. Don’t seal during this window; humidity breaks curing rules for most products.
- October through December (dry season returns). Fourth joint-sand check. Annual drainage slope check with the line level. Sealer inspection, and reapplication if the surface is showing wear. Full clean before the family holidays.
Four inspections, one full re-sand, one slope check, one sealer touch-up cycle. That’s the schedule. Every task targets a different cause. If you’d rather have a written plan specific to your driveway than follow a calendar, the Rowan Construction Group Doral home page covers the trades we serve and how a site assessment works.
Common Mistakes to Avoid
- Pressure-washing at high PSI. Above 1,500 PSI, a pressure washer will strip joint sand and blast the paver face, and on travertine it can permanently etch the surface. Doral’s limestone-heavy water combined with high-pressure cleaning leaves white streaking that takes a specialty cleaner to resolve.
- Using muriatic acid as a first-line cleaner. It’s fast, it’s common online, and it etches concrete pavers and travertine permanently. Use a pH-neutral cleaner first, and test any acid product in a hidden corner only after the neutral route fails.
- Topping off joints with plain play sand. Play sand washes out within a season in Doral rain and holds no binder against ants. Polymeric joint sand is the correct product, and the cost difference is measured in cents per square foot.
- Sealing before re-sanding. Sealing over loose, open joints traps sand in the wrong place and can seal ant mounds under the surface. Re-sand first, then seal.
- Ignoring the irrigation heads. An irrigation head aimed directly at the pavers is a five-minute fix and eliminates a large share of efflorescence recurrence. Most Doral driveways have at least one head aimed wrong.
- Treating a base failure as a surface problem. Adding sand over a rocking paver field is a temporary fix. If slope has moved, the base is the issue, and surface work will not fix it.
- Skipping the ant treatment before re-sanding. Polymeric sand is a barrier, not a pesticide. Put the bait down, wait, then sand. Doing it in the wrong order means doing it twice.
See the difference
 Before
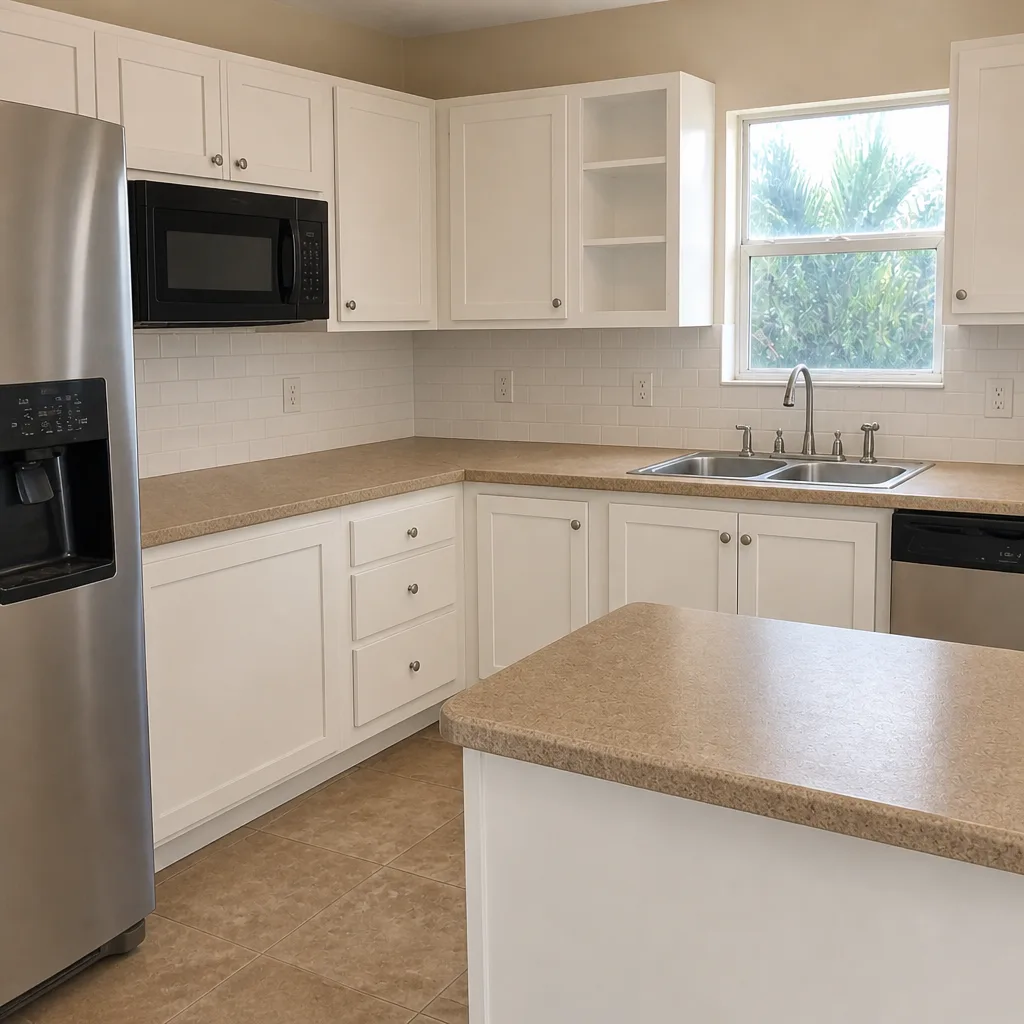 After
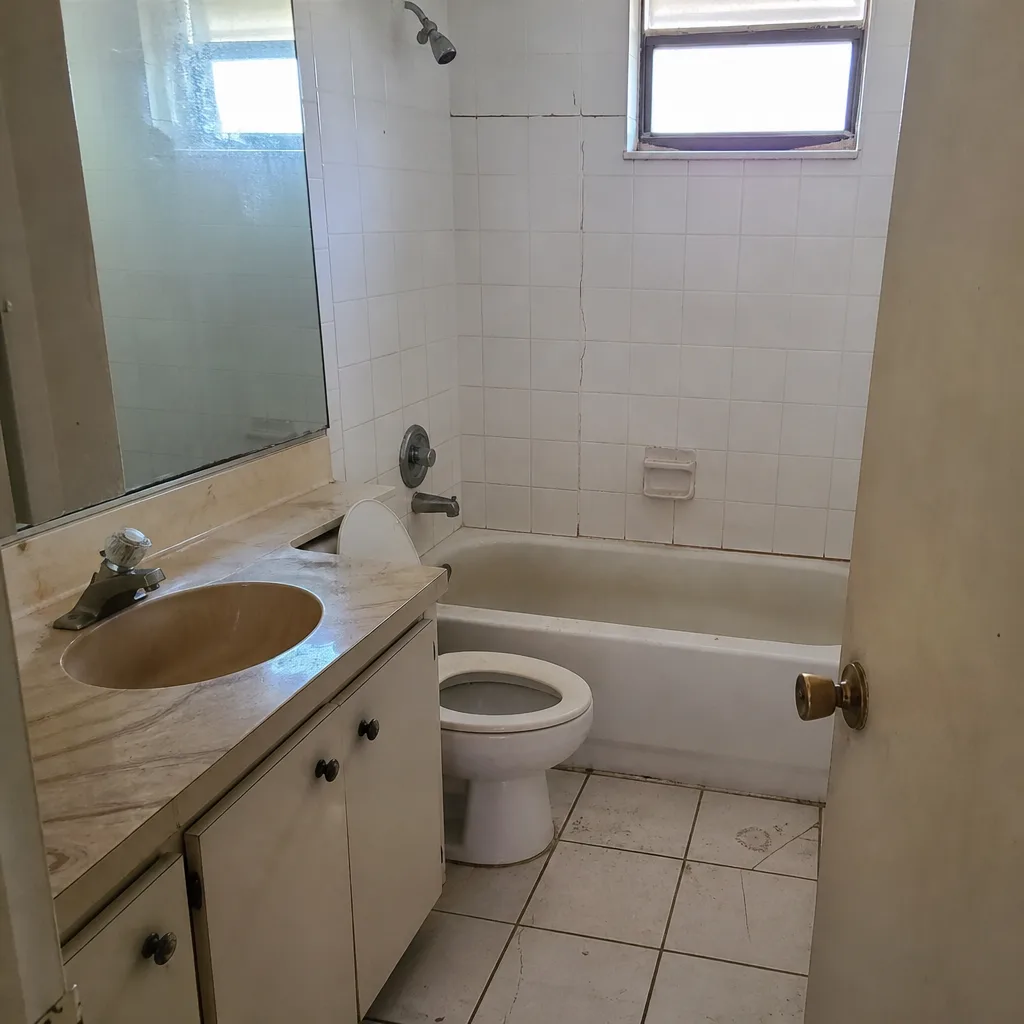 Before
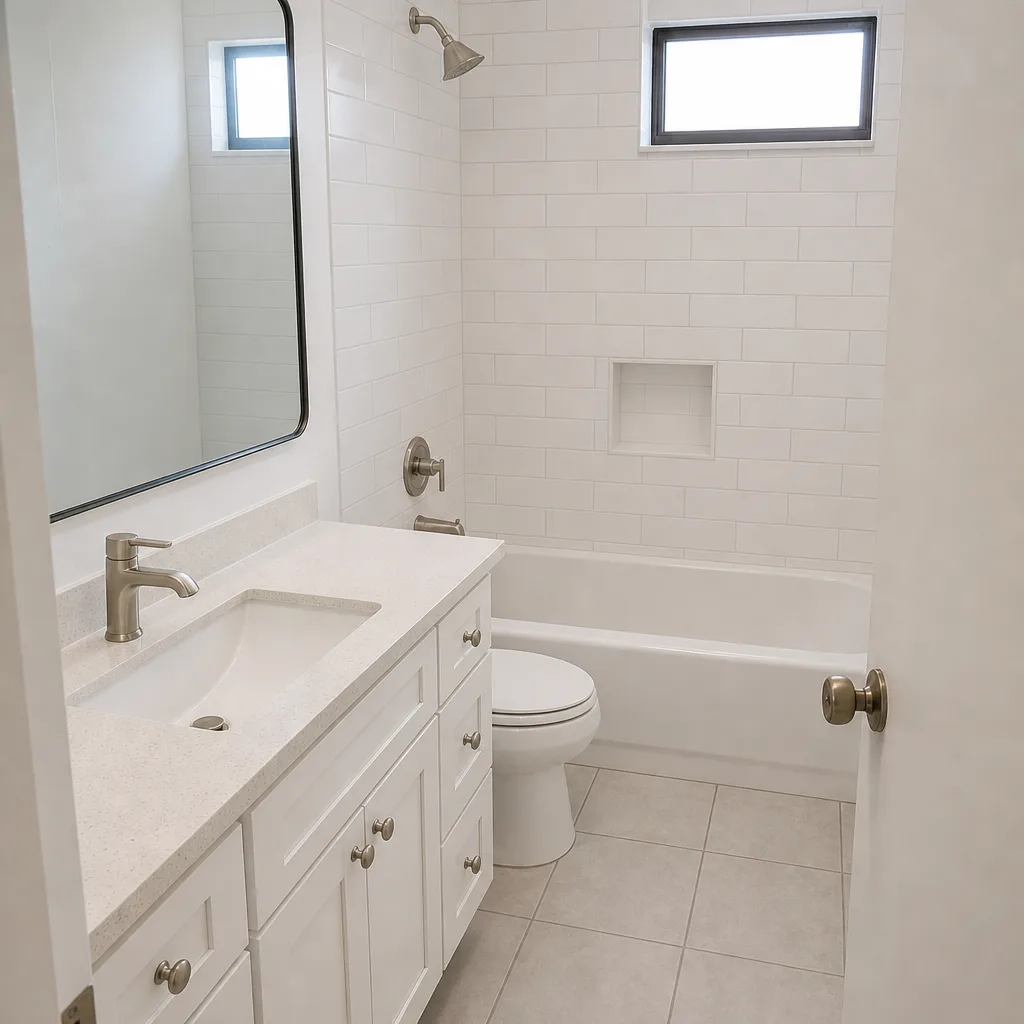 After
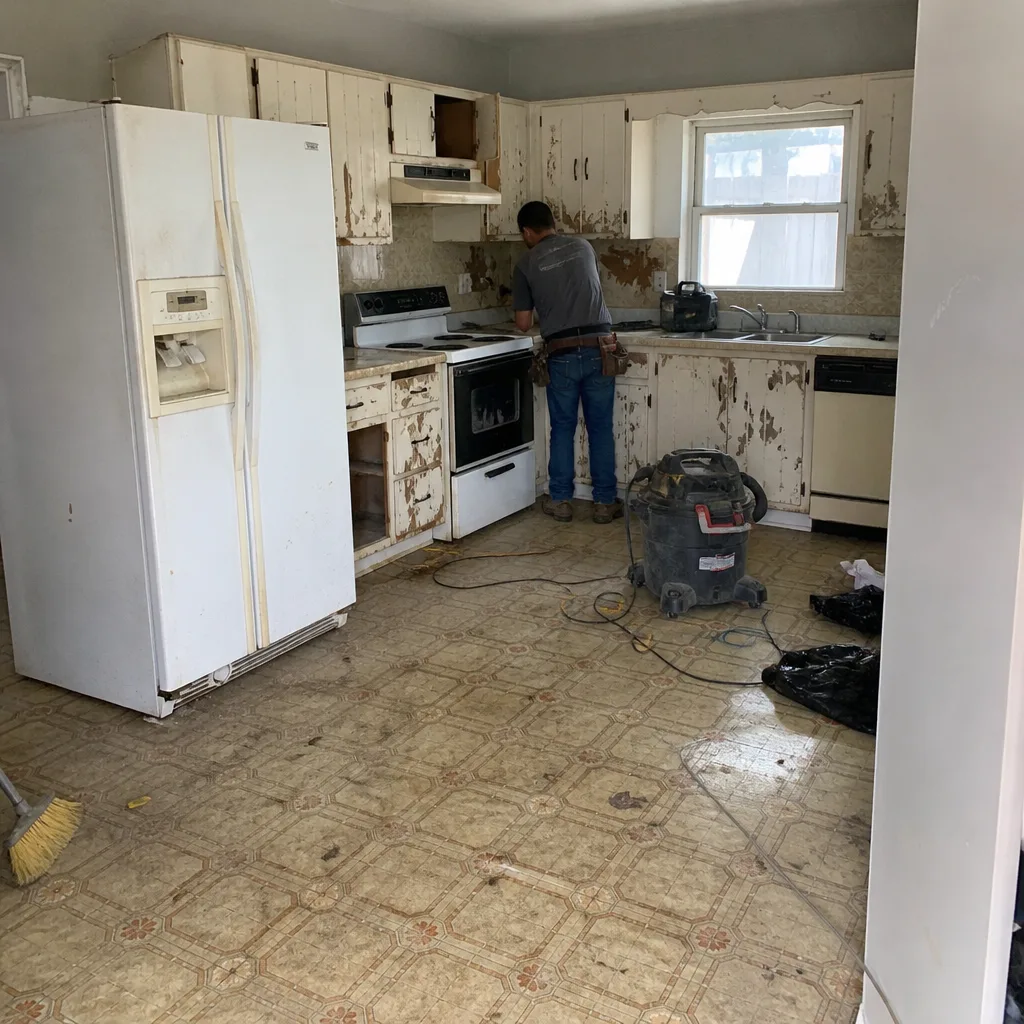 Before
 After
When to Call a Professional
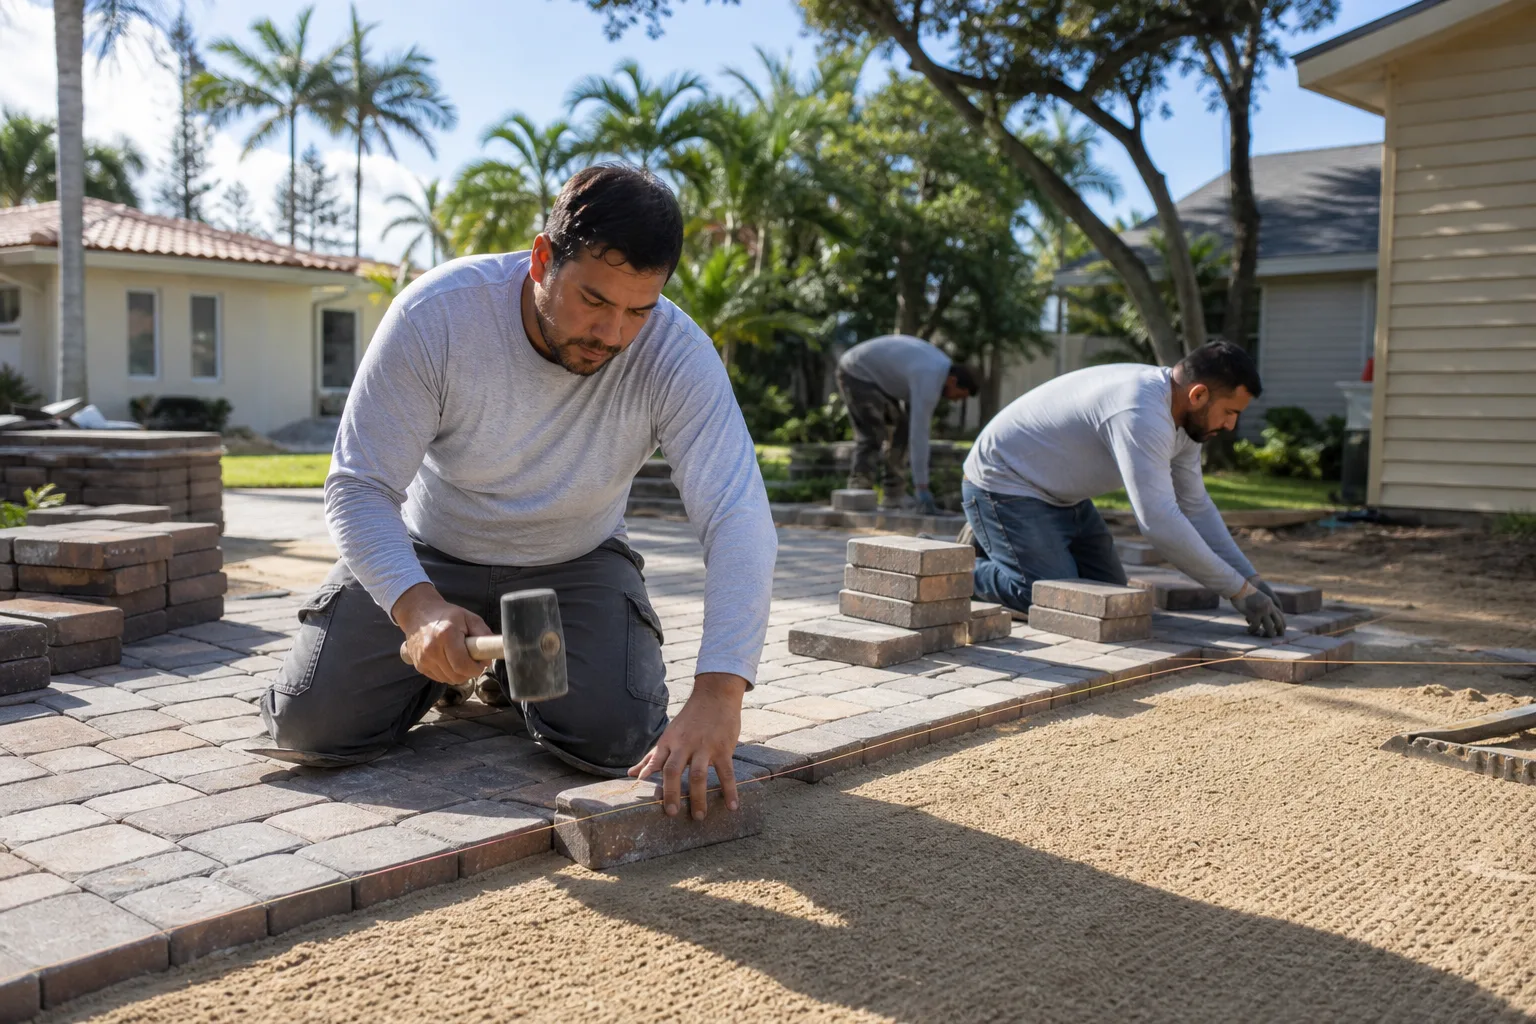
Most of this checklist is homeowner work. A few scenarios warrant a trained eye, and one or two require the base itself to come up.
Call in a professional when pavers rock underfoot across an area wider than a couple of square feet, when slope has moved beyond the 1/8 inch per foot threshold, when efflorescence keeps returning after a proper neutral-clean and source fix, when you’re seeing hairline cracks in individual pavers that keep spreading, or when the driveway is holding water after rain in a pattern that hasn’t changed since installation. Those point to base or bedding problems that surface work can’t resolve. A full inspection with a documented photo record will show exactly what’s happening under the joints.
Rowan Construction Group Doral offers free estimates in Doral for driveway assessment, repair, and replacement. Call (888) 300-3896 to schedule yours.
Frequently Asked Questions
Plan on a full polymeric sand re-sand every 3 to 5 years, with top-dresses in between as joints drop. In Doral, fire ant activity and heavy seasonal rain accelerate sand loss, so quarterly joint inspections keep the schedule honest. If more than a third of the joints have opened, that’s a full re-sand rather than a top-dress.
Efflorescence is a sign of moisture, not necessarily a defect. In Doral, limestone-rich irrigation water leaves mineral bloom on the surface as it evaporates, and that’s the most common cause. If bloom returns repeatedly in the same spots after a pH-neutral clean, check joint sand and irrigation aim before calling it a base problem.
Not as a first step, and on travertine, never. Acid etches natural stone and many concrete pavers permanently. Start with a pH-neutral paver cleaner, escalate to a specialty efflorescence remover only if that fails, and always test on a hidden patch first. Call (888) 300-3896 if you want a professional assessment before applying anything stronger.
Check the existing polymeric sand with a fingertip. If it crumbles easily or the joints are more than half empty, full re-sand. If it’s still bound but the joints have sunk a quarter inch, top-dress is fine. Material costs run $0.30 to $0.55 per square foot for polymeric sand, so the decision is mostly about labor, not product.
Match the sealer to the paver. Travertine and clay brick take penetrating sealers; concrete pavers can take penetrating or acrylic film-formers. Under South Florida UV, expect reapplication every 2 to 4 years, not the 5-year figure on most labels. Call (888) 300-3896 for a free estimate if you want the right spec written to your specific paver.
Yes. Fire ants (Solenopsis invicta) nest in the sand bed under pavers and tunnel out the support layer, which lets joint sand drain away and pavers rock. Sand loss and hollow spots underfoot are the visible signs. Quarterly inspections with a screwdriver tap test catch it early, before the base itself needs repair.
The Bottom Line
Doral driveways fail early for three specific reasons: mineral bloom from limestone-heavy irrigation, UV that defeats standard sealer timelines, and fire ants that hollow paver beds from underneath. Each has its own cheap countermeasure on its own schedule: quarterly joint checks, pH-neutral cleaning first and acid never, polymeric sand at $0.30 to $0.55 per square foot, sealers matched to the paver material, and an annual slope check with a line level. Do those and your driveway reaches the 25-year mark it was built for. Skip them and you’re in the replacement queue by year nine. When the surface problem is actually a base problem, call in a professional and get a written diagnosis before anybody touches the pavers.
For a free estimate on driveway inspection, repair, or replacement in Doral, call Rowan Construction Group Doral at (888) 300-3896. Written price before any work starts, photo record on every visit, and a 365-Day Done Right Promise.
Written by the team at Rowan Construction Group Doral.