Last updated November 18, 2026

Free written scope consultation - allowances, timeline, and change-order rules on paper before a single trade is scheduled
Driveway & Pavers Maintenance Schedule: What to Do and When
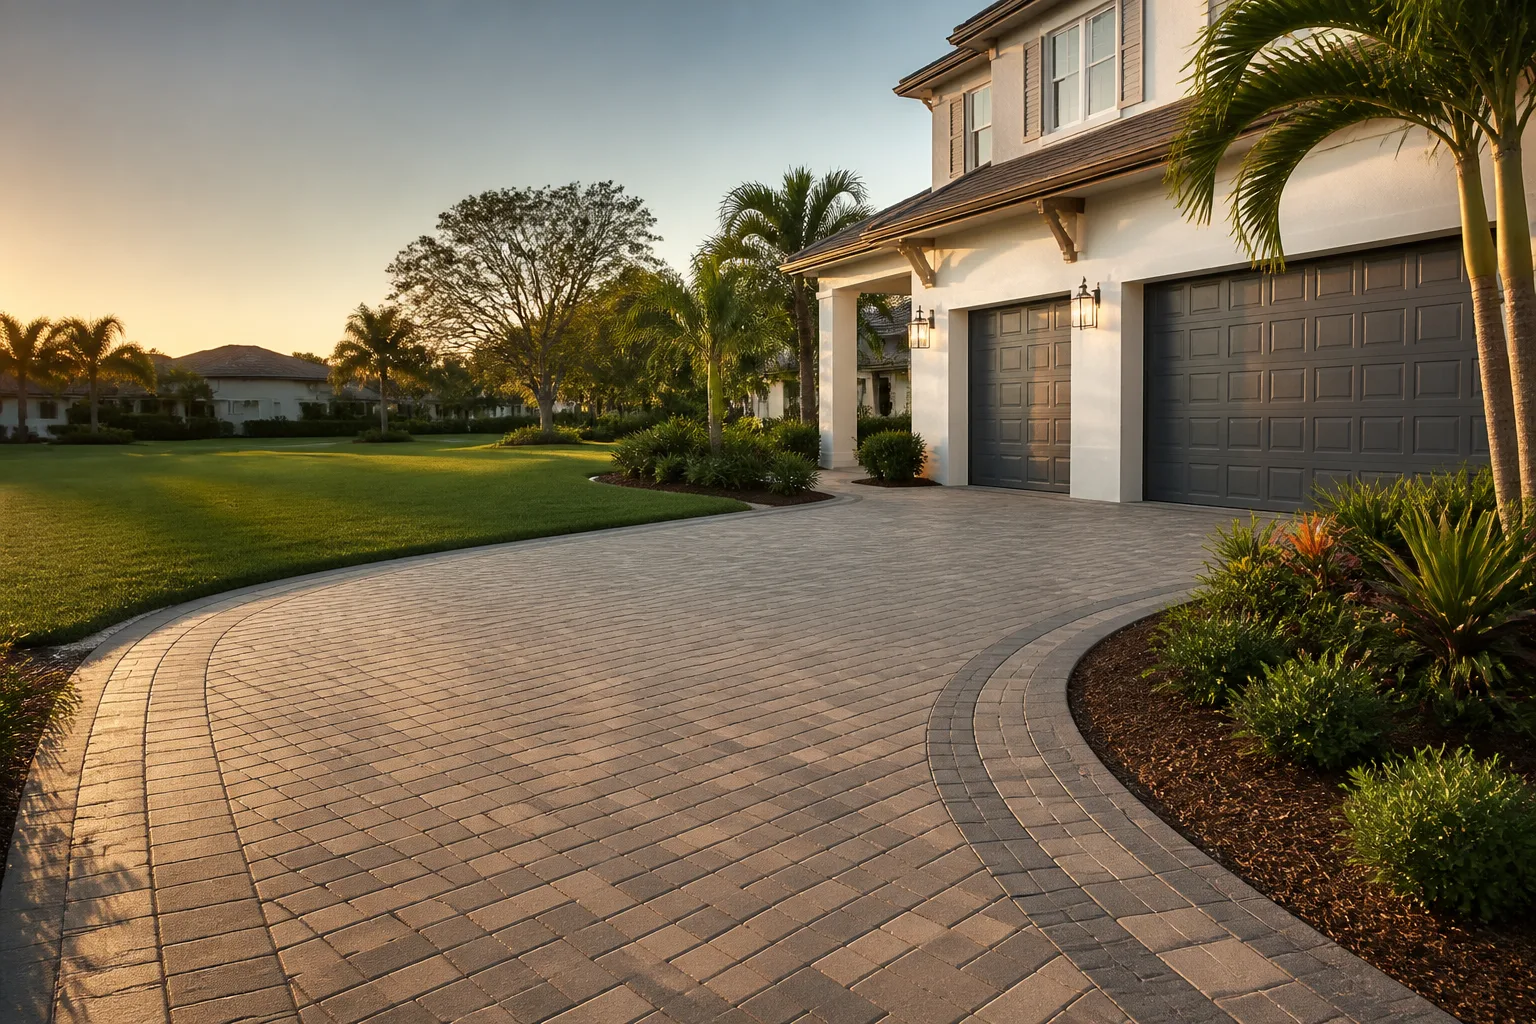
Polymeric sand in a Doral driveway typically needs replenishment every 18 – 24 months, not the “5 – 7 years” printed on the bag. South Florida’s rain intensity washes the binder out of joints faster than the manufacturer’s test conditions assume, and once the joints open, the whole system starts to move. What follows is a month-by-month schedule for keeping a paver driveway or patio intact, the specific products that hold up in South Florida humidity, and the dollar benchmarks you’ll need to judge a maintenance quote. Every task here takes an afternoon or less. Skipping them is what costs thousands.
Quick Answer
In South Florida, a paver driveway needs three recurring tasks: joint sand replenishment every 18 – 24 months, sealer reapplication every 2 – 3 years (test first, don’t guess), and an edge restraint check every season. Everything else is inspection and cleaning on a calendar. A properly built paver surface, installed over a correct base, is low-maintenance, not no-maintenance. The small tasks compound. Miss them and a $200 annual habit turns into a $4,000 rebuild of the base.
Styles & brands we work with
- Kitchen remodeling
- Bathroom remodeling
- Home additions & ADU
- Roofing
- Windows & doors
- Driveway & pavers
- Fence
Table of Contents
- Why Paver Driveways Fail Quietly
- The Month-by-Month Maintenance Calendar
- How to Test Whether Your Sealer Is Still Working
- Replenishing Polymeric Sand the Right Way
- The Right Products for South Florida Conditions
- Edge Restraint: The Point Most People Ignore
- What Each Maintenance Task Should Cost
- Common Mistakes to Avoid
Why Paver Driveways Fail Quietly
A paver driveway is a system, and it works because the parts hold each other in place. A compacted aggregate base, a bedding layer of sand, the pavers themselves, the joint sand that locks them laterally, and the edge restraint that keeps the whole field from spreading. Every one of those components can degrade without visible warning, and that’s the problem. Paver failure in Doral almost never starts with a crack in a visible paver. It starts with a joint that’s lost its binder, a small dip in the field that catches rainwater, or an edge unit that has shifted a quarter inch from the restraint. Each of those problems is cheap to fix early and expensive to fix late.
The mechanism is worth understanding. When polymeric sand washes out of the joints, rainwater gets under the pavers instead of sheeting off them. That water works on the bedding layer, and the bedding layer works on the base. A drive surface holding cars in a Doral summer sees roughly 60 inches of rain a year, and our storm events don’t arrive like the test conditions sand manufacturers used to rate polymeric binder longevity. Intensity matters more than annual volume. A single tropical downpour delivers the equivalent of a week of gentle rain in an hour, and that shear force is what strips binder from joints.
This is why we describe paver maintenance as an insurance policy rather than a chore. The tasks in this guide keep the system’s load transfer working, and the whole point of load transfer is that individual pavers don’t take the weight alone. Let it go and the first sign you’ll notice is a hollow sound under a tire.
The Month-by-Month Maintenance Calendar
South Florida doesn’t have the four-season cycle that northern maintenance guides assume. We have dry season and wet season, and hurricane season runs from June through November regardless of rain patterns. The calendar below is built around actual Doral conditions.
- January – February (dry season): This is the best window for sealing. Relative humidity is lower, pavers dry fast, and a fresh seal cures before the wet season. Do a full walkthrough inspection first: walk the surface and mark any hollow-sounding pavers, check joints for sand loss, and look at the edges. If you’re considering expanding a driveway or patio during the dry months, that work needs the same base preparation whether it’s new construction or a refresh – our guide to Driveway & Pavers in Doral covers what goes into a proper install.
- March – April: Pre-season cleaning. Pull weeds from joints, pressure-wash at a controlled setting (1,500 – 2,000 psi max, wide fan tip, keep the wand moving), and let the surface dry for at least 48 hours before any sand or sealer work. Doral homeowners with mature oak or ficus canopy should clear leaf debris from drainage paths at this point, not later.
- May, before the rains begin: The single most important inspection of the year. Walk every edge, look for joints wider than a quarter inch, and confirm that swales or slope allow water to leave the driveway. Check that the driveway doesn’t dump water into your property’s worst-weighted corner. Replace any lost joint sand before the first heavy rain. If your paver area abuts a fence line, verify that fence posts aren’t lifting an edge unit – we cover why this happens in our page on Fence Installation in Doral.
- June – September (rainy season): Monthly inspection, no heavy work. After each significant storm, check for pooling in any spot that holds water more than 24 hours and check the joint sand level. Pooling in the same spot twice means the base has settled or a slope has been lost, and a curb-core sample may be needed to diagnose it. Don’t seal during this window. Florida’s summer humidity pushes dry times far beyond what sealer labels list, and sealing damp pavers traps moisture under the film.
- October – November, after leaf drop: Deep clean. Clear all organic debris, spot-clean any staining, and inspect the seal film. This is also the second-best sealing window, ahead of the dry season, if you missed the spring work.
- December: End-of-year review. Note any paver that has shifted, any edge unit that has moved off restraint, and any new drain-path concern. This is the time to budget for major maintenance rather than react to a failure.
Add a reset whenever a hurricane or tropical storm passes within a likely impact zone. That means a debris sweep, a joint sand check, and an edge inspection, not a full reseal.
How to Test Whether Your Sealer Is Still Working
Don’t reseal on a schedule if you don’t have to. Sealing is chemical work, not maintenance ritual, and sealing over an active seal film is wasted money that can trap surface contaminant under a fresh coat. The water-bead test takes two minutes and tells you what you need to know.
- Pick three representative spots: a high-traffic area, a shaded area, and a low spot where water collects.
- Pour about a quarter cup of water on each spot from a few inches up.
- Watch. If the water beads and runs off, the seal is still active in that spot. If it soaks in and darkens the paver, the seal has failed there.
- Compare results. Partial failure, meaning a few traffic lanes but not the whole surface, usually means a targeted reapplication rather than a full reseal.
In our experience, most Doral driveways need a full reseal every 2 – 3 years with a quality penetrating sealer, and a top-up or spot reapplication sooner on the traffic tracks. Penetrating sealers, which bond below the surface rather than sitting on it as a film, don’t show the same wear pattern and rarely require stripping before reapplication. Film-forming sealers look glossier but fail faster in UV and humidity, and they tend to craze or flake in a way that’s obvious in Florida sun. If your paver surface is part of a larger exterior project, our Home Additions & ADU in Doral work often ties into paver walks and patios, and the same sealer logic applies to all of them.
When Not to Seal
Skip sealing if pavers are recently installed (wait at least 90 days for efflorescence to finish surfacing), if the forecast calls for rain within 24 hours, if relative humidity is above 80 percent, or if the surface was pressure-washed less than 48 hours prior. If any of those applies, seal later. A trapped-moisture haze is far more expensive to fix than a delayed seal.
Replenishing Polymeric Sand the Right Way
Joint sand replacement is the task most often done wrong. The bag says “5 – 7 years.” In Doral, plan on 18 – 24 months. The difference comes from rain intensity, UV, and warm soil temperatures that accelerate binder degradation. It’s also a task that homeowners regularly attempt in the wrong conditions.
- Clean the joints first. Remove old sand to at least a quarter inch of joint depth, ideally a half inch. A pressure washer with a narrow fan tip is best, followed by a leaf blower. Skip this and the new sand won’t bond.
- Check conditions. The surface must be completely dry and the weather must be clear for at least 24 hours. Polymeric sand activates when water hits it, not before.
- Apply with a hard broom. Sweep the sand into the joints at a 45-degree angle to the joint line. Tap the pavers lightly to settle the sand. Overfill and re-sweep – don’t try to meter it precisely.
- Activate, then strike. Lightly mist the surface to begin the activation, then sweep again at roughly 30 degrees to strike off the excess before it cures. Follow the manufacturer’s activation instructions precisely for the second mist.
Most important: don’t reapply sand with the pavers wet and don’t work on a humid day where the sand won’t dry. You can verify the joint is properly filled by pressing a fingertip into the joint – it should feel firm, not sandy-loose. Recheck after the first rain cycle and top up any spot that sank.
The Right Products for South Florida Conditions
Two products come up over and over for this climate, and they’re not identical. Pick based on the surface and the level of protection your site actually needs.
| Product | Best For | Application Rate | Notes |
|---|---|---|---|
| Techniseal HP+ | High-traffic driveways, full exposure to sun and rain | Roughly 100 – 150 sq ft per gallon; coverage varies by porosity | Solvent-based, cures fast, strong UV and water resistance; needs proper ventilation during application |
| Surebond SB-6300 | Patios, walkways, lower traffic areas, homeowners wanting a water-based product | Roughly 150 – 200 sq ft per gallon | Water-based, lower VOC, easier cleanup, gentler on adjacent plantings |
Application rate is per coat. On a porous paver you’ll use more. For joint sand, use a brand with a high binder percentage and an “efflorescence-free” claim – that middle-line specification matters because efflorescence, the white haze that powders out of ordinary sand, is a Doral-common problem in high-humidity months. Sealer choice and sand choice interact: a penetrating sealer plus a good polymeric sand gives a more predictable result than a film-forming sealer plus cheap sand. You’ll see the same material discipline in the windows we install on these homes: CGI, CWS, or ES Windows units all come with their own spec sheets, and we apply the same “read the label, match it to the site” discipline to pavers as we do to those assemblies.
Don’t mix brands within one application. Adhesion between an unknown old sealer and a new product is unreliable, and the cleanup cost if it goes wrong is higher than a fresh good-coat.
Edge Restraint: The Point Most People Ignore
Edge restraint is a strip of metal or plastic anchored to a concrete curb or a soil bed running along the perimeter of the paver field. The two most common products are Snap-Edge and Brickstop. Both depend on anchor pins, and both tend to fail in the same way: the pins work loose in saturated soil, the strip moves a quarter inch, and the pavers spread laterally in small steps that are invisible day to day.
What to check at every seasonal inspection:
- Look for the strip standing above or proud of the pavers. A strip that has lifted from its original line is likely missing an anchor or has one that has pulled up.
- Press down on the edge paver row. Any movement in the outer 12 inches is a warning sign. If you can see daylight in the pin seat, the anchor has lost its grip.
- Walk the joint line at the edge with a broom handle. A small gap is what you’re looking for; a widening gap is what you’re fixing.
- Check after every heavy rain event. The force that loosens pins is water, and Doral gets plenty of it.
Re-pinning is normally done with a longer anchor, a fresh hole, or both. If the restraint isn’t a penetrating pin system, it may need to be replaced entirely with one. It’s a modest job. What it prevents is the expensive part: lateral migration opens the whole perimeter, and a paver field that has spread has lost its ability to carry loads evenly. That’s the kind of issue that turns an edge repair into a fieldwork rebuild. If you want to understand what a properly restrained edge looks like from the start, our Rowan Construction Group Doral home page covers how we scope exterior work.
What Each Maintenance Task Should Cost
Maintenance benchmarks so you can judge a quote. These are material-and-labor ranges for typical South Florida conditions. A 500 sq ft driveway is the reference size.
- Joint sand replacement: $150 – $350 for 500 sq ft with a quality polymeric sand, including labor. Material alone runs $40 – $80 per 50 lb bag.
- Sealing (penetrating): $150 – $300 in materials alone for 500 sq ft with a product like Techniseal HP+, plus labor. A full job with prep usually lands $500 – $900.
- Sealing (film-forming): Higher material cost and a higher labor cost because prep and stripping are usually required.
- Edge restraint re-pinning or partial replacement: $80 – $200 per linear segment, depending on length and whether a new strip is needed.
- Pressure washing and pre-seal prep: $200 – $450 for 500 sq ft, surface condition dependent.
If a quote falls well below the low end of that range, ask what product is being used and how much of it. A quote that can’t name the sealer and the spreading rate is not a quote you can compare. A quote well above the range should include reason: heavy stripping, significant restoration, or major base repair.
Common Mistakes to Avoid
- Sealing over dirty or damp pavers. This is the most expensive mistake on the list. A film sealer over surface grit or moisture traps both under a clear coat that has to be stripped and redone. In Doral humidity, skipped prep before sealing nearly always means rework.
- Pressure-washing at full pressure. A 4,000 psi wand will blast joint sand out of every joint in a few minutes. Stick to 1,500 – 2,000 psi with a wide fan and keep the tip moving.
- Believing the “5 – 7 years” on the sand bag. Test conditions don’t match South Florida rain. Plan on 18 – 24 months and recheck after each storm season.
- Ignoring edge restraint because it looks fine. Edge failure is gradual and unnoticeable until the whole perimeter is out of line. A seasonal press test takes two minutes.
- Letting one low spot pool. Repeated pooling after storms is a base-settlement signal, not a leaf-debris problem. Diagnose it before it spreads.
- Resealing on a schedule without the bead test. If the boat test shows the seal is active, don’t seal. Recoating an active film adds cost and reduces the life of the next proper application.
- Choosing a contractor on price alone for a small maintenance job. Ask for the product name, the spreading rate, and a photo of the surface before and after. Anyone who won’t provide those on a maintenance job won’t provide them on a bigger one either.
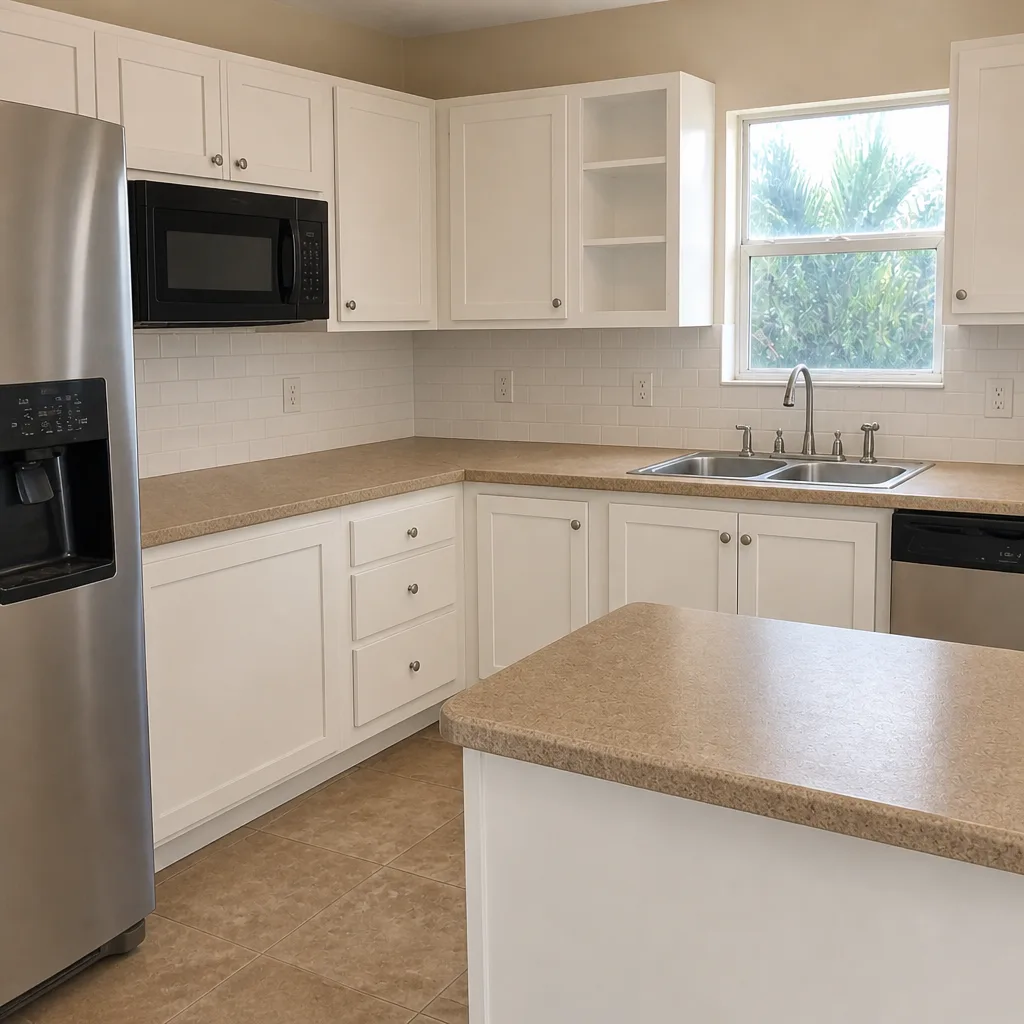
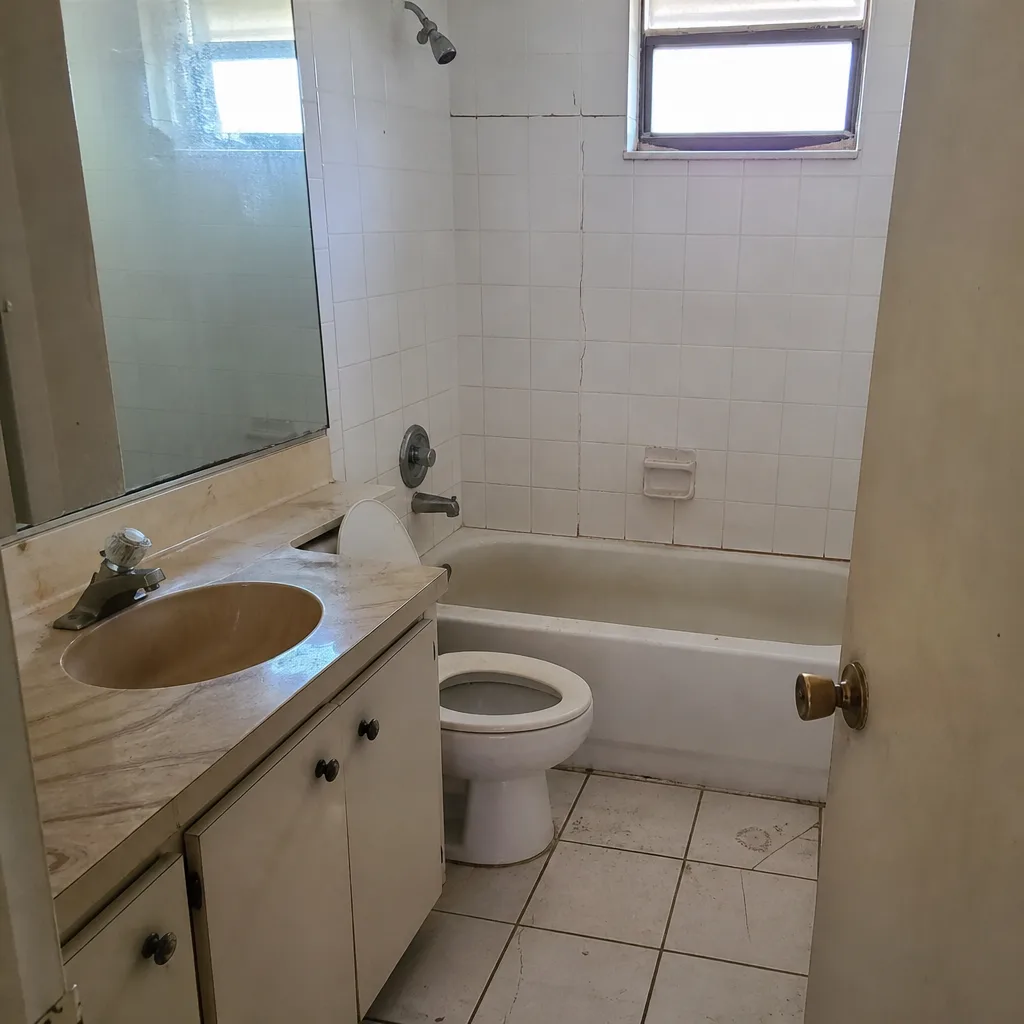
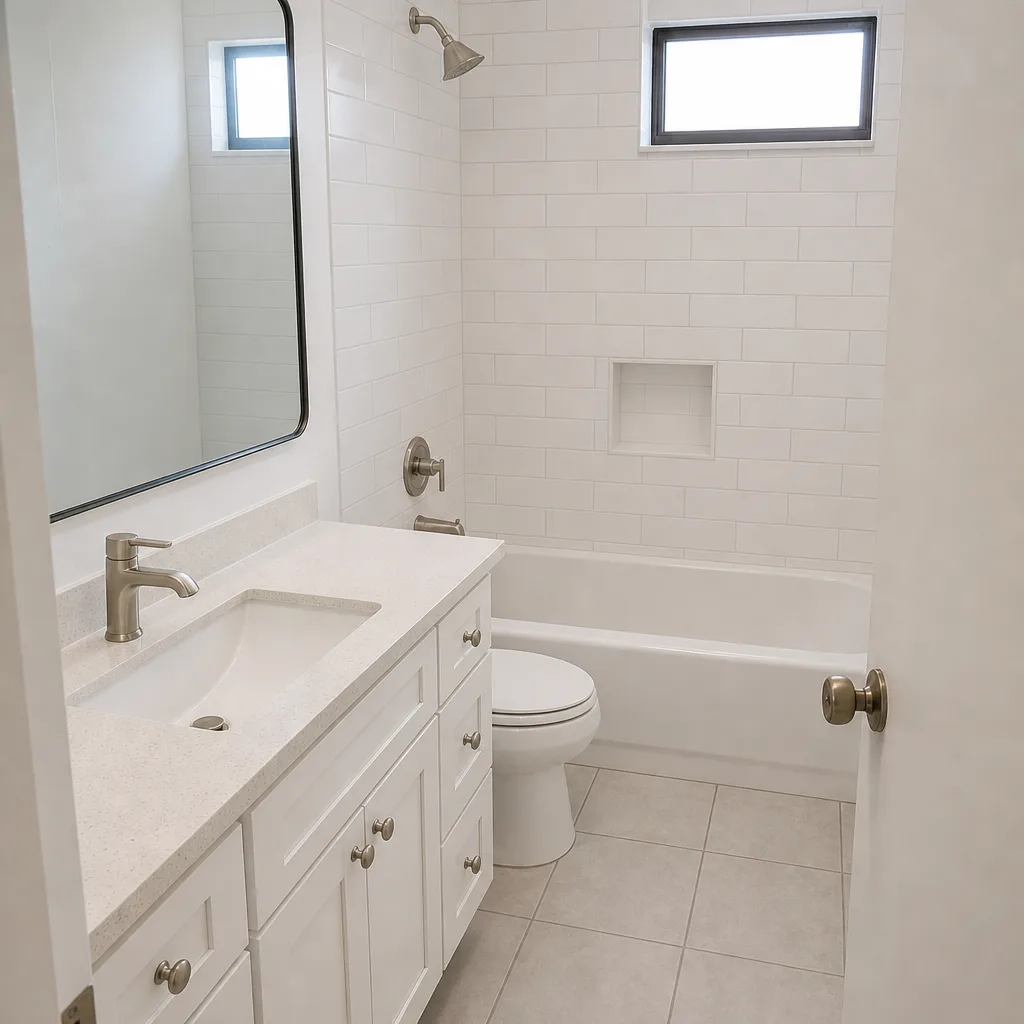
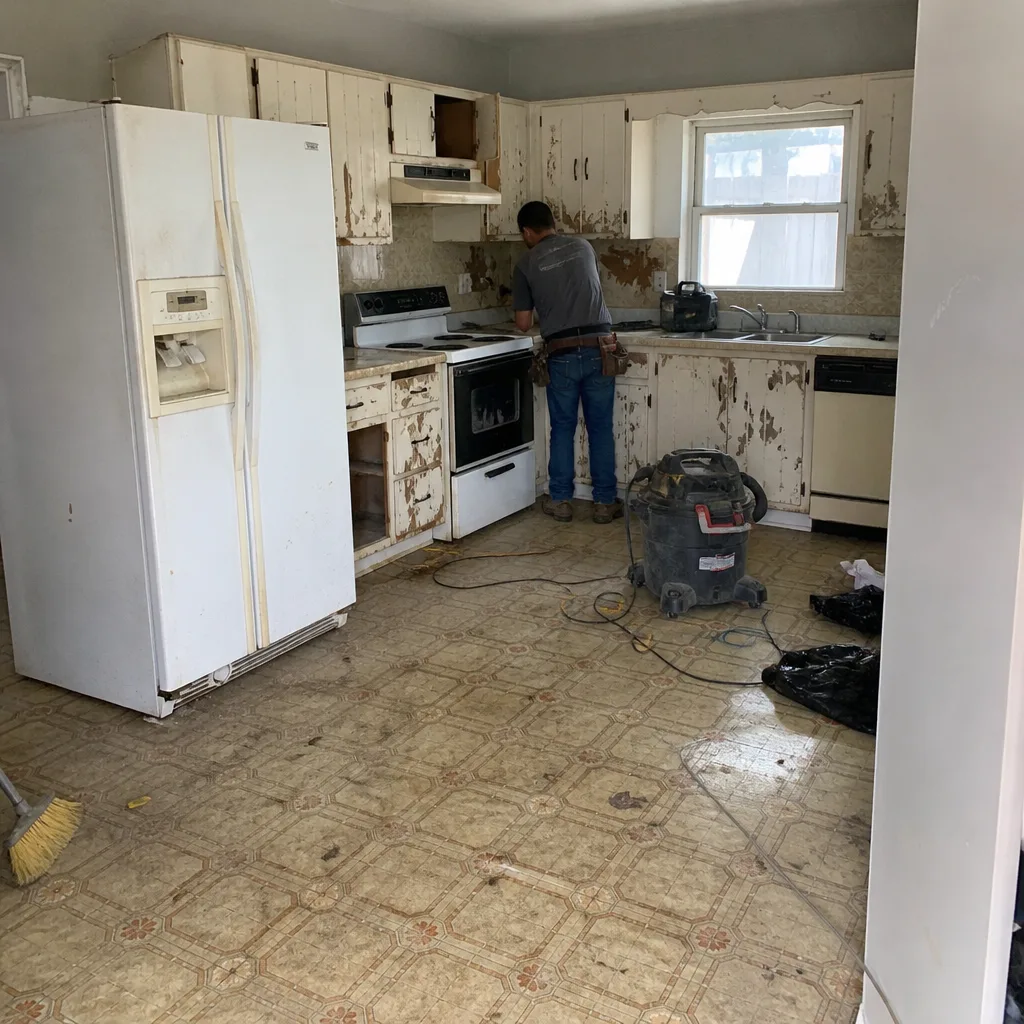
See the difference
 Before
 After
 Before
 After
 Before
 After
When to Call a Professional
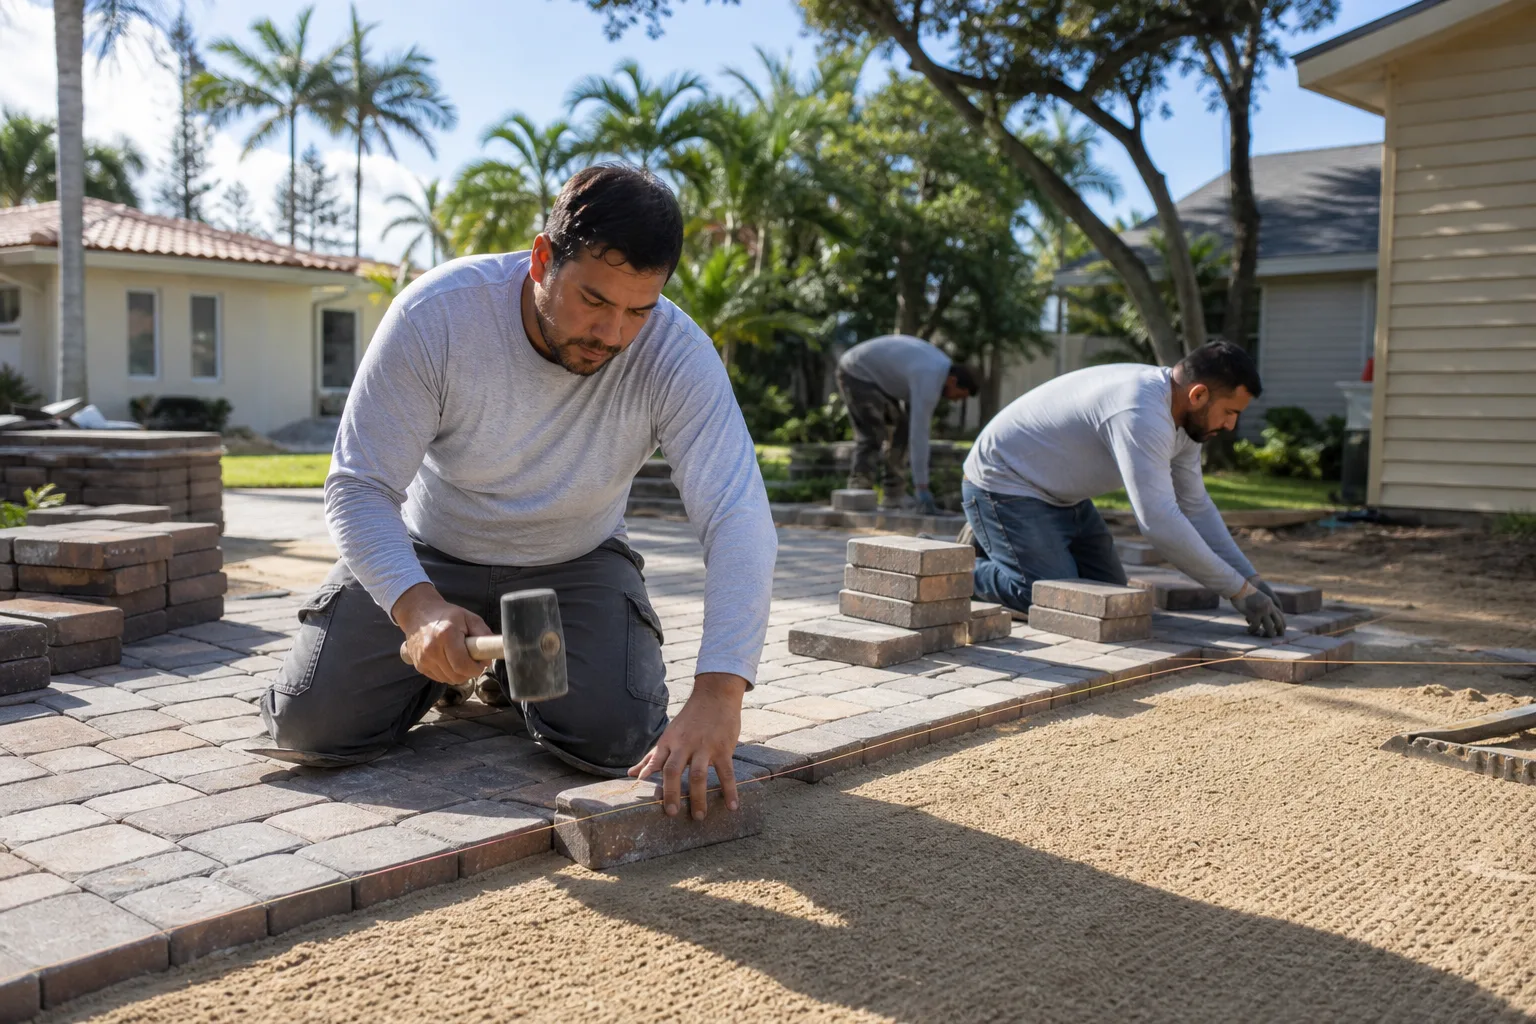
Most recurring paver maintenance is within reach of a careful homeowner. Some tasks are not, and it’s worth knowing the line. Call a professional when a low spot pools water in the same place across two or more rain events (that’s base settlement, and a proper fix needs a core sample and re-lifting of the affected field); when edge restraint has moved more than a quarter inch anywhere the pavers bear vehicle weight; when a sealing job requires stripping a failed film sealer; or when the paver surface ties into a structural work area, like an ADU foundation or a patio slab under an attached structure.
Rowan Construction Group Doral offers free estimates in Doral – call (888) 300-3896. We put a written scope and a flat price in front of you before any work starts, backed by our 365-Day Done Right Promise. Every visit includes a documented photo record, and our technicians have up to 19 years of experience. We’re also glad to provide a free second opinion on any written estimate you’ve already been given, line by line.
Frequently Asked Questions
Every 2 – 3 years with a penetrating sealer, and sooner on high-traffic lanes. Doral’s sun exposure and heavy summer rain break down surface protection faster than in cooler climates, so don’t go by the generic “5 – 7 year” label. Test with the water-bead test before resealing; if the water still beads, you can defer. Call (888) 300-3896 for a free site check on your driveway.
Rain intensity. Polymeric sand binder is tested against gentler rain conditions than Doral actually gets, and a single tropical event can strip a year’s worth of binder from the joints. Replenish every 18 – 24 months and recheck after each storm season. If the joints are already wide, fix the sand before the storm season rather than after.
Yes, at a controlled 1,500 – 2,000 psi with a wide fan tip, and you’ll need to replace joint sand afterward. Anything above that, or a narrow 0-degree tip, will destroy the joint binder and can chip the paver edges. On heavily stained surfaces, a professional clean is the safer call because the wrong setting does permanent damage.
Look for a strip standing proud of the paver surface, press-test the outer row for movement, and check for a widening gap along the perimeter. Anywhere with vehicle traffic, a quarter inch of movement is a warning; half an inch means the restraint has failed its job. Re-pinning or replacing the restraint is a small job. Wait too long and the paver field spreads and the base is exposed.
Yes, because the perimeter around new structures is where water routes differently. Fence posts and ADU foundations change the drainage path next to a paver surface, and they push water into new low points. Check those perimeter joints after every heavy rain for the first year. If you’re planning a fence or an ADU, our fence installation in Doral and home additions and ADU work in Doral pages cover how the paver apron should tie in.
May, because it’s the last window before the rains arrive and the first time most homeowners inspect the surface after a dry season of unnoticed wear. Get the edge inspection, joint sand check, and drainage check done in May. Everything after that is damage control for the year.
The Bottom Line

Paver maintenance in South Florida is a small, structured habit, not a renovation project. Joint sand every 18 – 24 months, a sealer check every 2 – 3 years, an edge restraint press test every season, and a proper pre-storm inspection in May. The dollar benchmarks in this guide let you price a quote against the actual material and labor cost for a 500 sq ft job, and the water-bead test keeps you from sealing a surface that doesn’t need it. The tasks that protect a paver driveway are cheap and specific. The repairs they prevent are neither.
If you want a written scope and a flat price before you commit to any maintenance work, Rowan Construction Group Doral offers free estimates – call (888) 300-3896. We also offer a free second opinion on any written estimate you already have. Under our 365-Day Done Right Promise and The Haven Standard, the price is in writing before anyone picks up a tool.
Written by the team at Rowan Construction Group Doral.