Last updated November 18, 2026




Free written scope consultation - allowances, timeline, and change-order rules on paper before a single trade is scheduled
Driveway & Pavers Warning Signs Every Homeowner Should Know
A single rocking paver in an otherwise stable driveway is not a cosmetic nuisance. It means the base under that unit has voided – the bedding layer has washed out or settled – and water is now entering and exiting that void with every rain cycle, enlarging it a little more each time. We’ve pulled up “one loose paver” in Doral and found a six-foot cavity underneath. Most paver failures broadcast clear structural warnings six to eighteen months before they become expensive repairs, but nobody teaches homeowners what to look for. This guide translates contractor-eye observations into plain descriptions you can check on a Sunday morning walkround.
Quick Answer
The warning signs of driveway paver failure are a rocking or hollow-sounding unit, sand washing out of joints, edge creep at the border restraints, and fan-shaped rust-colored stains near a joint. Catch them early and the fix is usually a localized reset costing a few hundred dollars; catch them late and you’re redoing the base for a large multiple of that. The good news is that all four signs are visible without tools, and one of them takes a tape measure and sixty seconds.
Styles & brands we work with
- Kitchen remodeling
- Bathroom remodeling
- Home additions & ADU
- Roofing
- Windows & doors
- Driveway & pavers
- Fence
Table of Contents
- The tap test: finding voids before the surface moves
- Edge creep: measuring lateral migration at your restraints
- Stain patterns: drainage failure versus surface contamination
- Efflorescence versus joint deterioration
- Documenting three reference points every six months
- How South Florida weather accelerates paver decay in Doral
- Repair levels and what each one actually involves
- When to call a professional
The Tap Test: Finding Voids Before the Surface Moves
The tap test is exactly what it sounds like. Walk your driveway in a grid, and tap each paver firmly with the handle of a screwdriver or the heel of a shoe. A paver sitting on a compacted base returns a dull, solid thud. A paver over a void returns a hollow, drum-like ring. That difference in sound is the earliest signal you’ll get, and it appears months before the unit starts rocking.
What the hollow sound actually tells you: the bedding sand or the compacted aggregate under that unit has lost contact with the paver underside. Something removed the support – usually water, sometimes root intrusion, occasionally a poorly compacted base layer that finally settled under load. The void then acts as a collection chamber. Water flows in through the joints during rain, sits in the void, and pushes out under pressure. Each cycle scours a little more material away, and the void grows.
Here’s how to run it properly:
- Walk the driveway in a systematic grid – roughly one paver width apart, front to back, then side to side.
- Tap every paver along the outer edges and around any joint where you already see sand loss; those areas void first.
- Mark hollow-sounding pavers with a piece of chalk so you can track whether the count grows.
- Repeat at the same interval – sixty days works well – and compare the chalk count.
One or two hollow units near a downspout is a localized drainage issue. A cluster of hollow pavers across the middle of the driveway suggests a base compaction problem, which is a different conversation. In Doral, where afternoon thunderstorms drop serious volume in short windows, we’ve seen a hollow paver go to a rocking paver in under a season. If you want to understand what a proper base looks like from the start, our page on Driveway & Pavers in Doral walks through the excavation and compaction sequence.
Edge Creep: Measuring Lateral Migration at Your Restraints
Pavers don’t float free. They’re held in place by edge restraints – usually a concrete curb or a spiked plastic edge – and the whole assembly is locked together by joint sand and interlock. When the restraints fail or the base loses confinement, the pavement migrates outward, a process called edge creep. It happens slowly, which is why measuring is the only reliable way to catch it.
The method is simple and unreasonably effective. Pick a fixed reference point at the border – a wall corner, a step riser, a set utility cover – and measure from that point to the outer edge of the paver field. Write the number and the date in a note on your phone. Do it again in sixty days. Then again.
Here’s what the numbers mean:
- Zero to 1/8 inch over sixty days: normal thermal movement and settling. No action.
- 1/8 to 1/4 inch over sixty days: watch it. Re-measure at thirty days to see if it’s accelerating.
- 1/4 inch or more over sixty days: repair now. At this rate the interlock has broken down at the edge, the joint sand is washing out behind the restraint, and the failure will migrate inward.
We’ve seen driveways in Doral where the homeowner never noticed the creep until a paver pushed into the lawn by nearly two inches over a year. By then the edge restraint was visibly displaced and the last four courses needed to come up. A thirty-dollar tape measure and a note on your phone is the cheapest diagnostic tool you own.
Stain Patterns: Drainage Failure Versus Surface Contamination
Not all stains are equal, and the shape matters more than the color. A stain that spreads evenly across the surface – oil drips, tire marks, leaf tannin – is surface-only contamination. It sits on top and can be cleaned. A stain that grows in a specific geometric pattern is telling you about water moving through the assembly.
The most diagnostic one is the fan-shaped rust-colored stain near a joint. This pattern almost always indicates that water is flowing through the joint, carrying dissolved iron from the aggregate base or from a reinforcing element, then fanning outward as it evaporates at the surface. The fan shape shows you the direction of flow and typically locates the entry point at the narrow end. In our experience, a rust fan near a joint means the bedding layer beneath is saturated and the drainage path is compromised – the water is finding a route out through the surface because it can’t get out through the subgrade. The fix is rarely cosmetic cleaning. It’s usually re-establishing the drainage below.
Other patterns worth knowing:
- Dark patches that stay damp long after rain: water pooling in a low spot over a void, or a drainage slope that has failed.
- White, chalky blooms along joints: see the next section.
- Green film on the shaded side only: usually algae from poor airflow, cosmetic, treatable with a wash.
- Mixture of rust fan plus a hollow tap: high confidence of subsurface void with active water movement. This is the one to photograph and get looked at.
Photograph the stain with a coin or measuring tape in the frame. That gives you a scale reference for later comparison.
Efflorescence Versus Joint Deterioration
Efflorescence is the white, powdery bloom you sometimes see on concrete pavers or across joints. It happens when mineral salts dissolve in water within the paver or base, migrate to the surface as moisture evaporates, and crystallize there. It looks alarming and is almost always cosmetic. It does not indicate a structural failure on its own.
Joint deterioration is different, and the distinction matters. A joint that has lost its sand – or has deep, wide gaps between units – cannot keep interlock. Water flows straight through, the pavement loses its load distribution, and individual units start to rock. So how do you tell them apart?
- Push a screwdriver blade sideways into the joint. If it meets firm friction all the way down, the sand is intact. If it drops through freely or the joint opens more than about 1/4 inch across, the joint has deteriorated.
- Wipe the white bloom with a damp cloth. Efflorescence wipes away, sometimes returns. Joint erosion doesn’t wipe away – you can see the missing material.
- Look at the pattern across the driveway. Efflorescence tends to favor one area or face and resolves with time and weather. Joint erosion spreads along the traffic lines first.
Joint deterioration requires resanding with the correct joint material – polymer sand or similar, depending on the specification – which is a calibrated job, not a matter of dumping sand and sweeping it in. Improper resanding leads to exactly the failure you were trying to prevent. Efflorescence, on the other hand, often resolves with simple washing and time. We’ve seen Doral homeowners spend money on unnecessary repairs because a contractor confused one for the other. Both are worth photographing and tracking. For a sense of what proper joint materials look like, read about the paver brands we source, like Belgard and Techo-Bloc, on the Rowan Construction Group Doral home page.
Documenting Three Reference Points Every Six Months
This is the practice that most distinguishes a homeowner who catches a problem early from one who catches it late. Pick three fixed physical reference points on your property and photograph them the same way, at the same time each year, every six months. That’s it. The protocol takes fifteen minutes and builds a baseline that makes contractor diagnostics faster and dispute resolution cleaner.
Choose reference points that will still be there in ten years:
- A corner of the paver field at the property line. Frame a section of the edge restraint and a reference object (a fence post, a utility box) so the camera position can be replicated.
- A high-traffic joint or grid intersection. Frame it with a coin or measuring tape in the shot as a scale.
- A drainage feature – a channel drain or a downspout outlet. Frame the concrete or paver around it.
Store the photos in a dated album on your phone or cloud. When you eventually need to call someone, you have a visual record that shows whether that crack has always been there, whether that stain is new, and whether the edge has moved. That record serves the same function as the photo record we produce on every visit – evidence, not impressions. Our crews are background-checked and uniformed under The Haven Standard, and every visit includes a photo record as standard, not an upgrade. It’s the same discipline a homeowner can run on their own property.
How South Florida Weather Accelerates Paver Decay in Doral
Driveways in Doral live through something most paver guides never mention: sustained wet and dry cycles with intensive heat. The wet season pushes water into every joint and micro-crack; the dry season pulls it back out. That cycle is the mechanism that creates voids, drives efflorescence, and opens joints. It’s not a matter of if, but how fast.
Two local specifics make the difference between a driveway that lasts twenty years and one that fails at ten:
- Subgrade preparation under lime rock or fill. Doral’s ground is a blend of natural and placed fill, and the preparation rate matters. In some neighborhoods we’ve inspected, the base compaction was never verified at the specified density, which shows up as uniform settling over the whole field rather than a localized issue.
- Drainage path design. South Florida’s flat grade means the whole driveway is a low point during a heavy storm unless the contractor engineers a positive slope and a clear outlet. We’ve worked on driveways in the Doral Boulevard corridor where the water had nowhere to go, and the pavers were doing the work of draining the lots behind them. The fix wasn’t pavers – it was drainage.
This is also why the tap test and edge creep measurement matter more in South Florida than in drier climates. The failure rate is faster here, so the interval between warning and repair is shorter. The warning signs are the same; the clock is running faster.
Repair Levels and What Each One Actually Involves
Paver repair isn’t one job. There are distinct levels, and knowing which level you’re looking at helps you understand what you’re being quoted for – and whether it’s honest. Here’s the framework we use:
- Level 1 – Joint restoration only. Full resanding with the correct joint material. Does not address voids or rocking. Appropriate when the tap test is clean, joints are intact, and the only issue is sand loss.
- Level 2 – Localized reset. Lift a small area of pavers, re-establish bedding, recompact, re-lay, resand. Handles isolated hollow pavers. Does not address a base problem that runs deeper.
- Level 3 – Partial base repair. Excavate the failed zone to a specified depth, reestablish aggregate base, compact in lifts, reinstall pavers and joint material. Handles clusters of hollow pavers, edge creep, and drainage failure at one area.
- Level 4 – Full reconstruction. Remove the pavers across the field, excavate, rebuild base and drainage, relay or replace pavers. Needed when the base problem is systemic.
We put the level and the scope in writing on the quote, along with the flat price. Under Clause 1 of the Haven Standard, that written price comes before any work starts, every time. And if a change becomes necessary mid-job, no work proceeds on it until a change order is signed. That’s the discipline that keeps projects within a few percent of the agreed number across thousands of jobs.
Common Mistakes to Avoid
- Ignoring one rocking paver. It feels minor and it isn’t. That unit is a portal for water into the base, and the void underneath it grows with every rain. In Doral’s wet season, that can mean weeks, not months.
- Tapping with too much force. A slam with a hammer tells you nothing useful and can crack a paver. Use firm, controlled taps with a screwdriver handle or shoe heel.
- Sweeping any sand into the joints. There’s a specific correct joint material for your paver type, and the wrong sand can either wash out immediately or seal the surface and trap moisture where it does the most damage.
- Assuming all white bloom is efflorescence. Sometimes it’s joint deterioration disguised. Check with a screwdriver blade before you spend on cleaning.
- Tracking from memory. The notes-on-your-phone practice is cheap and it’s what makes the numbers meaningful. Memory is not a measurement.
- Hiring a repair quote that doesn’t specify the level. If a contractor gives you a number without a scope that names which of the four repair levels is being done, you’re being asked to sign a black box. Ask for a written scope and a flat written price.
- Ignoring drainage in favor of pavers. New pavers over the same failed drainage will fail the same way. Fix the water first.
See the difference
 Before
 After
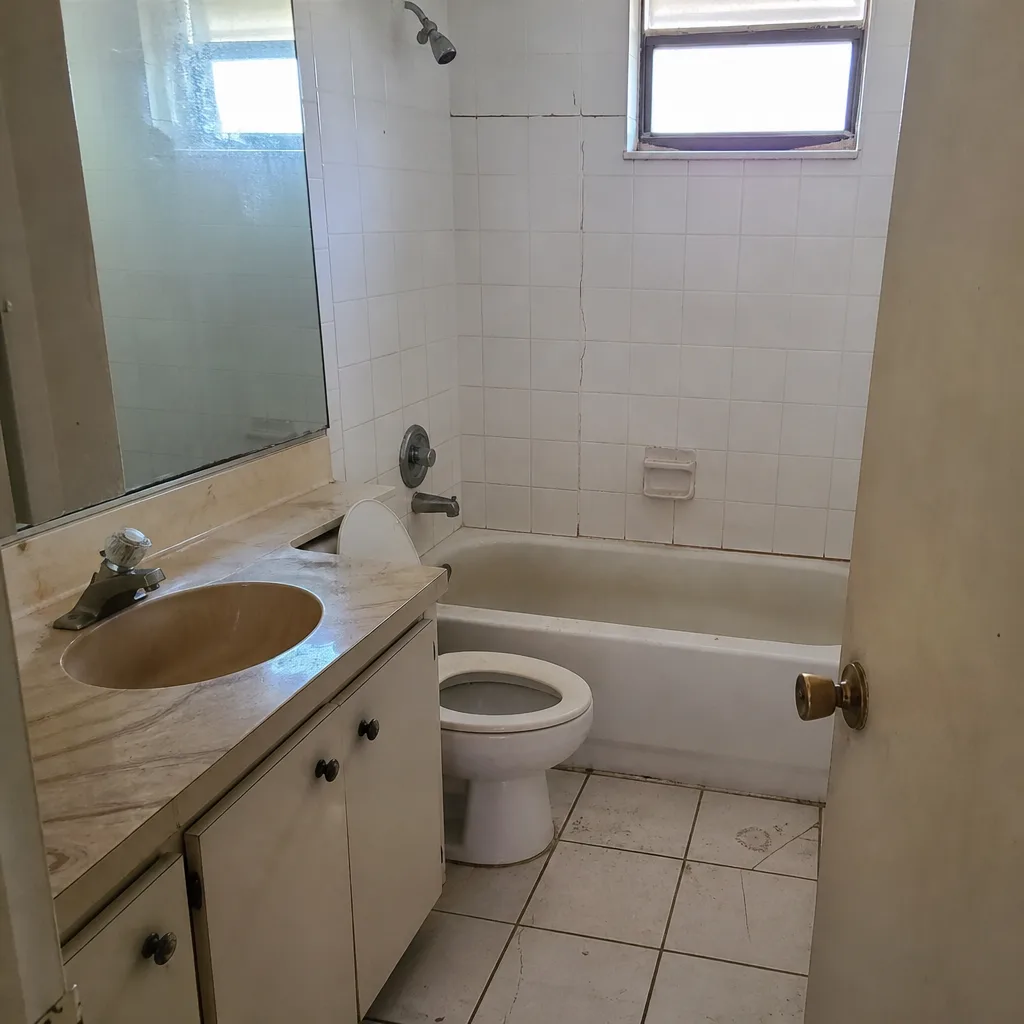 Before
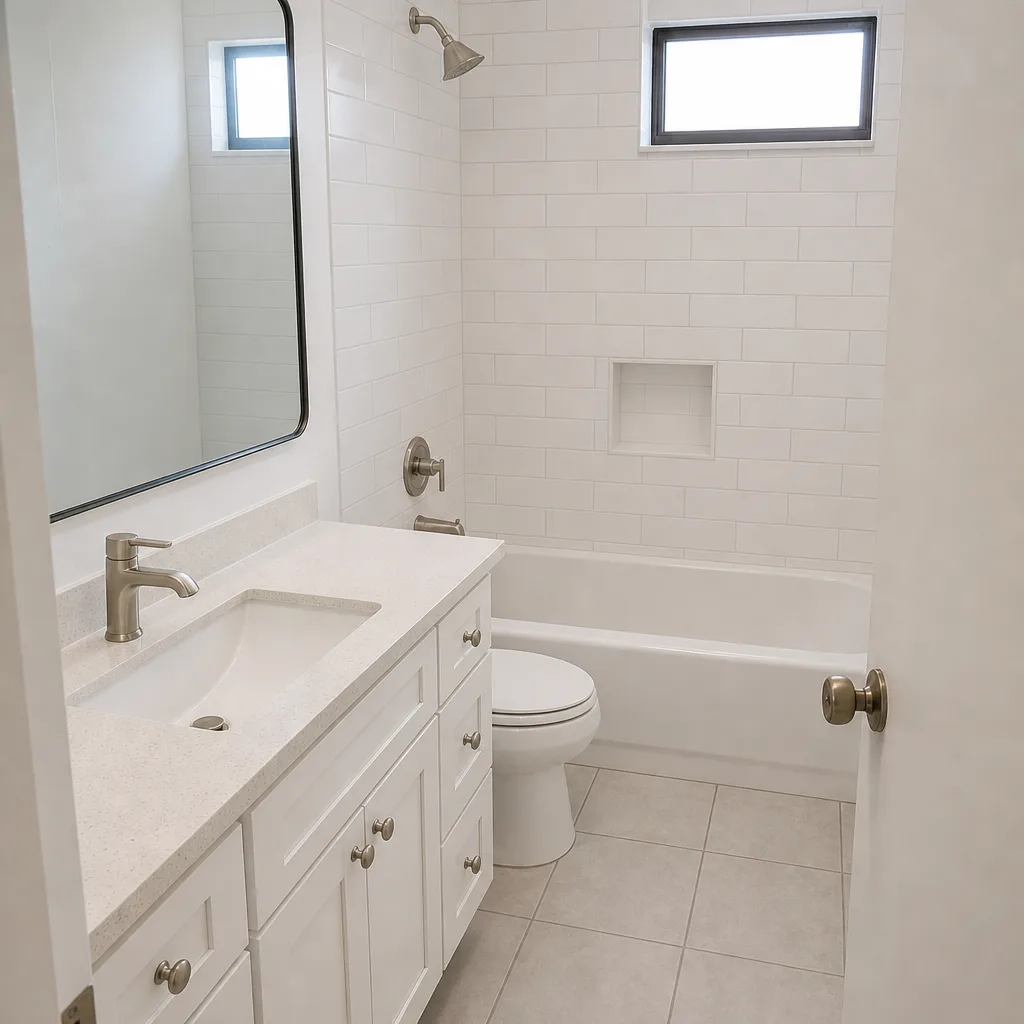 After
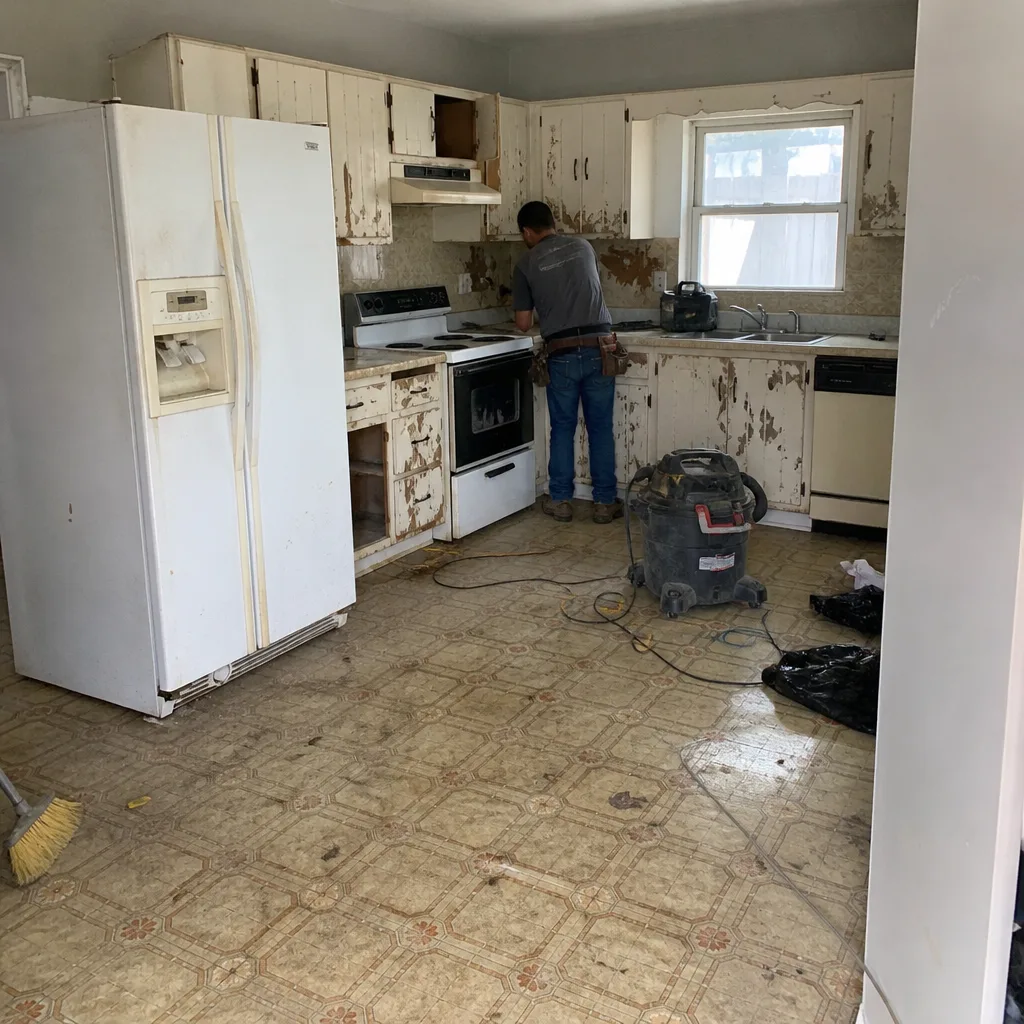 Before
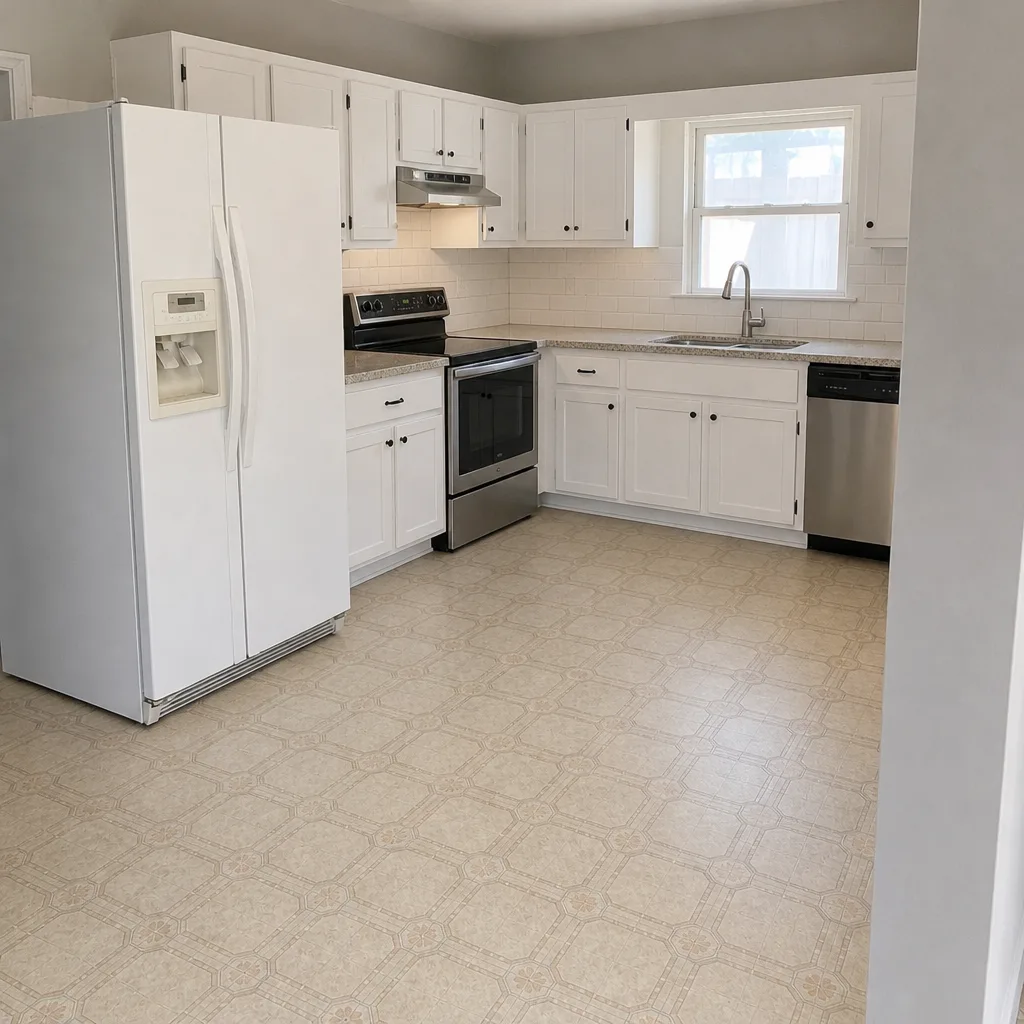 After
When to Call a Professional
Call a professional if you find any of these: a cluster of three or more hollow pavers in the tap test, edge creep of a quarter inch or more over sixty days, a rust fan stain near a joint with active hollow sound beneath it, wide joints that will not hold sand, or visible movement of the edge restraint itself. Those are all signs of active base or drainage problems, and the repair cost scales with how long they’re left running. Call also if your driveway has settled uniformly across the whole field – that pattern suggests a base compaction issue, which is a different and larger conversation.
Rowan Construction Group Doral offers free estimates in Doral – call (888) 300-3896 to schedule yours, and we’ll review any competitor’s written quote line by line at no charge as a second opinion.
Frequently Asked Questions

Localized paver repair in Doral typically runs from a few hundred dollars for joint resanding and a small reset up to a substantially larger figure for a partial base repair, depending on the square footage involved and whether drainage work is needed. Full reconstruction of a driveway field sits in the several-thousands range. Those ranges are wide on purpose, because the only honest answer is a written line-item quote based on an inspection. Call (888) 300-3896 for an exact number – estimates are free.
No work proceeds on a change until a signed change order is in place. That’s a structural discipline, not a promise to be nice about it – Clause 1 of The Haven Standard is that the price is written before anyone starts, and any later change gets its own signed document with its own number. Across thousands of projects this is the practice that has kept actual costs within a few percent of the number the homeowner agreed to.
Yes, and it usually does. A rocking paver means the bedding under it has voided, which lets water in and out with every rain cycle. That’s what makes the void grow. In our experience, “one loose paver” is often the visible symptom of a cavity that has already spread several pavers wide under the surface.
Efflorescence is a white mineral bloom pushed to the surface as water evaporates – it’s cosmetic and not dangerous to the pavement structure. It’s also not the same as joint deterioration, which is structural and requires resanding. Check with a screwdriver blade in the joint before you assume which one you’re looking at.
Once every sixty days is a reasonable rhythm in South Florida’s climate, since our wet season cycles water into joints and voids faster than drier climates do. If you’ve had a known hollow paver or a rust fan stain, check monthly until it’s addressed. Add a full photo record of three fixed reference points every six months.
Permit requirements for paver work in Doral depend on the scope – joint resanding rarely requires one, while base reconstruction or drainage modification often does. Under The Haven Standard, permits are pulled and inspections passed whenever the scope requires them, and the permit and inspection status is documented in the photo record you receive at completion.
The Bottom Line
Most paver failures give you a year or more of warning. A hollow tap, a quarter-inch of edge creep over sixty days, a rust fan near a joint, a joint that won’t hold sand – these are the signals, and they cost nothing to check. The single highest-return habit is the six-month reference photograph: same three spots, same time of year, dated on your phone. That record is what lets you make the call at the right time rather than the expensive time, and it’s what makes a contractor’s diagnostic faster and more honest. Run the checks. Keep the record.
If you’re seeing any of the signs in this guide, Rowan Construction Group Doral will come out and give you a written evaluation – flat price, written scope, photo record included. Call (888) 300-3896 to schedule your free estimate. If you have a competitor’s written quote, we’ll review it line by line at no charge as a second opinion.
Written by the team at Rowan Construction Group Doral.