Last updated November 18, 2026







Free written scope consultation - allowances, timeline, and change-order rules on paper before a single trade is scheduled
Bathroom Remodeling Maintenance Schedule: What to Do and When
Grout sealer applied at the wrong interval – too soon or too late – voids the manufacturer’s stain warranty on brands like Mapei and Laticrete. Most homeowners never know the interval exists. We’ve walked into Doral bathrooms where a $15,000 remodel was failing at year four, not because the tile was wrong but because nobody told the homeowner that a $4 bead of caulk and a six-month sealer window were part of the deal. A bathroom remodel is only as durable as the calendar that follows it, and almost nobody hands you that calendar at closeout. This guide publishes the actual intervals, product names, and dollar thresholds that separate a 10-year bathroom from a 25-year one.
Quick Answer
Your first-year bathroom maintenance schedule has four checkpoints: verify caulk cure at month one, reapply grout sealer between months six and twelve, test your exhaust fan’s CFM at month six, and inspect supply lines and valve packing at month twelve. After year one, silicone caulk joints get replaced on a 12-month cycle and valve packing and supply line inspections move to a 24-month cycle. Skipping a $4 caulk bead for 18 months turns into $400 – $900 of substrate repair. The schedule is simple; the discipline is what’s rare.
Styles & brands we work with
- Kitchen remodeling
- Bathroom remodeling
- Home additions & ADU
- Roofing
- Windows & doors
- Driveway & pavers
- Fence
Table of Contents
- Your First-Year Checklist: Month by Month
- Grout Sealer: The 6-to-12-Month Window and Why It Voids Warranties
- Caulk Cure Verification and the 12-Month Silicone Cycle
- Exhaust Fan CFM Testing: The Task Nobody Does
- Annual vs. Biennial: What Degrades on Which Cycle
- Brand-Specific Resealing Intervals for Doral Projects
- The Dollar Cost of Deferred Maintenance
- What Your One-Year Warranty Covers (and Doesn’t)
Your First-Year Checklist: Month by Month
The first twelve months after a bathroom remodel are not a maintenance phase – they’re a settling phase, and the tasks are different from year two onward. New construction moves. Thinset cures, wood framing dries, silicone skins over, and grout releases trapped moisture at a rate it never will again. Miss the settling-phase checkpoints and you’re fighting a bathroom that’s been allowed to drift.
Here’s the schedule we’d hand any Doral homeowner at closeout:
- Week 2: Visual inspection of all caulk joints. Look for gaps at the tub deck and shower curb. Do not add new caulk over a joint that hasn’t fully cured – you’ll trap moisture.
- Month 1: Confirm the caulk has cured to a firm, non-tacky feel. Check the shower pan for any standing water that isn’t draining toward the weep holes.
- Month 3: First grout inspection. Run a fingernail across grout lines – if it crumbles or powders, moisture is passing through.
- Month 6: Apply the first grout sealer touch-up (see the sealer section below for why six months, not twelve). Test exhaust fan CFM with a cheap anemometer or a tissue-and-stopwatch check.
- Month 9: Inspect the toilet base caulk, the supply line connections under the sink, and the shower door sweep.
- Month 12: Full first-year inspection. Replace all silicone caulk joints at the tub, shower, and vanity backsplash. Reapply sealer on all tile and stone. Inspect valve packing for drips.
That’s it. Six checkpoints, most of them 20-minute tasks. In a Doral bathroom, where humidity runs high year-round, the month 6 and month 12 tasks matter more than they would in a dry climate – moisture that sits is moisture that does damage. If you remodeled with us, this calendar is part of what you get: a Rowan Construction Group Doral home page documents the whole process, but the maintenance calendar is the part that keeps the build honest long after we’ve packed up.
Grout Sealer: The 6-to-12-Month Window and Why It Voids Warranties
Grout sealer has a manufacturer’s window, and applying it outside that window – too soon after install or too late – voids the stain warranty on your grout line. Cedar, Laticrete, and Mapei all publish their own intervals, and they’re not identical. Most Doral installations use a cementitious grout that needs sealer applied between 6 and 12 months after installation, depending on product. Reapply every 12 to 18 months thereafter. Apply too early (before full cure) and the sealer traps moisture. Apply too late and the grout has already absorbed enough to make the sealer fail on contact.
The practical way to think about it:
- Months 6 – 12: First sealer application window. Check the product data sheet for your specific grout – Mapei Keracolor and Laticrete 1500 both publish their own curing and sealing windows, and they differ.
- Months 12 – 30: Reapplication window if the shower is used daily. High-traffic showers need the faster end of the schedule.
- Months 30+: Annual reapplication to maintain protection, especially on floor tile in a Doral bathroom where humidity is a constant.
Use an impregnating sealer, not a topical coating. Topical sealers on a shower floor will peel, and peeling sealer under shower water is a mold substrate. If the bathroom was built with epoxy grout, skip sealer entirely – it doesn’t absorb water. This is the kind of detail your landlord never told you, and it’s the difference between grout that holds up and grout that fades out. For anyone considering a remodel rather than a maintenance pass, our Home Additions & ADU in Doral page covers how the same substrate discipline plays out on larger builds.
Caulk Cure Verification and the 12-Month Silicone Cycle
Silicone caulk joints at the tub deck, shower curb, vanity backsplash, and floor perimeter are the highest-failure maintenance item in any bathroom, and they’re the cheapest to fix. The joint is where two materials meet – often tile and a cast tub, or tile and painted drywall. Those two materials move at different rates. The caulk has to stretch, and it eventually fails. On a 12-month cycle, plan to replace every silicone joint in the wet zone once a year. On a 24-month cycle, inspect and repair rather than replace.
Here’s how to tell if a joint needs replacing rather than touching up:
- Press the joint with your thumb. If it’s firm and rebounds, the caulk is fine.
- Run a fingernail along the edge. If it lifts, the bond has failed underneath.
- Look for black or pink discoloration that won’t scrub off – that’s mold behind the caulk, and the joint needs to come out entirely.
- Feel for moisture. If the substrate underneath is soft or spongy, stop and call a professional before re-caulking over water damage.
The most common mistake in a Doral bathroom is re-caulking over failing caulk. New silicone won’t bond to old silicone, so an 18-month touch-up on a joint that needed replacement at month 12 fails at month 20, and by then you’ve got moisture behind it. The proper replacement: remove all old caulk, clean the joint, let it dry completely, then apply a fresh silicone bead rated for wet areas. That’s a two-hour job for a homeowner and a $150 – $250 job for a pro. For a whole-bathroom scope that includes a tub-to-shower conversion, our Driveway & Pavers in Doral page gives the framing on how we sequence outdoor and indoor stone work when both are on the same project.
Exhaust Fan CFM Testing: The Task Nobody Does
Your bathroom exhaust fan moves a specific number of cubic feet per minute (CFM), and if that number drops below code, moisture stays in the room. In Doral, where the average relative humidity hovers around 70% for most of the year, a fan running at half its rated CFM is functionally absent. The building code number to know: exhaust fans in bathrooms must move at least 50 CFM for intermittent use, 20 CFM for continuous operation. Most builders install at the minimum. Most fans degrade about 10% per year from dust and lint buildup. By year four, a 50-CFM fan is moving 33 CFM and the moisture that used to clear in 15 minutes now sits for hours.
Here’s how to test CFM in 10 minutes:
- Anemometer method: Hold a handheld anemometer at the fan grille and read the airspeed in feet per minute. Multiply by the duct’s cross-sectional area in square feet. That’s your CFM. A $30 anemometer does the job.
- Tissue-and-stopwatch method: Hold a single-ply tissue against the grille and time how long it takes to pull fully to the fan cover. Under 10 seconds means the fan is moving air roughly as designed. Over 20 seconds means it’s fallen below usable.
- Smoke test: Hold a lit incense stick near the fan; if the smoke doesn’t clear within 30 seconds, the fan needs service.
Before replacing a fan, clean the grille and check the ducting. A fan that loses 40% of its CFM is usually blocked by lint at the grille or a sagging flex duct. Those are $20 fixes. If the fan itself has failed, replacement with a modern quiet model costs $150 – $350 installed. This is one of the tasks that pays for itself – a failing fan in a Doral bathroom costs far more in paint, drywall, and mold remediation than a replacement ever will.
Annual vs. Biennial: What Degrades on Which Cycle
Every maintenance item in a bathroom falls into one of two cycles, and conflating them is why some things get missed and others get overdone. The 12-month cycle is for anything in direct contact with water: silicone caulk joints, shower door sweeps, drain covers, tub deck seals. The 24-month cycle is for anything that carries water or contains it: valve packing, supply lines, shutoff valves, and the toilet fill valve.
The full split:
- Annual (12-month) tasks: Replace silicone caulk joints in the wet zone. Reapply grout sealer. Clean the exhaust fan grille. Test the shower drain flow. Inspect tile for cracks or loose edges.
- Biennial (24-month) tasks: Inspect valve packing for drips. Check supply lines under the sink and behind the toilet for corrosion or cracking. Test the shutoff valves. Replace the toilet flapper and fill valve. Inspect the shower pan for any sign of movement or cracking.
- Every 5 years: Full inspection of the substrate behind the walls, if accessible through an access panel. Re-caulk the floor perimeter. Pressure-test supply lines if any sign of corrosion.
In a Doral bathroom, the annual cycle should be tightened, not loosened, because the humidity accelerates seal failure. We’ve seen bathrooms in the Doral area where the caulk at the tub deck failed at month nine, not month twelve, and every month after that the water was working its way into the substrate behind the tile. That’s not a cosmetic problem – it’s a $400 – $900 repair if caught quickly, a $2,000+ repair if not.
Brand-Specific Resealing Intervals for Doral Projects
The sealer you use and the stone or tile you seal both dictate the interval. Here are the intervals we specify most often in Doral jobs, with the specific products:
- Mapei Keracolor U with Keraseal: Apply 7 to 10 days after grout cure, then reapply every 12 months. In a Doral shower, tighten to every 9 months.
- Laticrete 1500 with 1776 Grout Sealer: Apply after 28 days, reapply every 18 months. Product expiry matters – check the date code.
- Cedar (formerly Cedar Grout): Apply 14 days post-install, reapply annually. This is the brand many Doral commercial clients specify and it holds well in humid showers.
- Cambria and Caesarstone quartz (if used at the vanity): No sealer needed, but re-polish every 24 months with a pH-neutral cleaner; avoid anything with ammonia or citrus.
- Marble and natural stone: Reapply penetrating sealer every 12 months. Test the seal each month by dropping a small amount of water; if it beads, it’s sealed, if it absorbs, it’s time.
- Porcelain tile: Doesn’t need sealing, but the grout lines between it do. Don’t skip the grout sealer just because the tile is porcelain.
Store leftover sealer from the original install – if you need a touch-up at month 6 and the product has been discontinued, you’ve got a problem. We keep the sealed containers labeled with the install date and product code as part of the documentation package. This is the kind of record that wins warranty disputes, and it’s also the reason our Fence Installation in Doral clients get the same documentation on their outdoor builds – a record of what went in, when, and what to do next.
The Dollar Cost of Deferred Maintenance
Deferred maintenance has a specific dollar cost, and it’s not linear – it’s exponential. Here’s the actual math from Doral projects we’ve inspected:
| Task | Cost if done on schedule | Cost if deferred | Typical delay before failure |
|---|---|---|---|
| Replace 6 linear feet of silicone caulk at tub deck | $4 – $30 in materials | $400 – $900 substrate repair | 18 months |
| Reapply grout sealer (shower) | $8 – $25 in materials | $150 – $400 regrout cost | 24 – 36 months |
| Replace exhaust fan grille and clean duct | $10 – $20 | $800 – $2,500 mold remediation | 36 – 48 months |
| Replace supply line (undetected leak) | $15 – $40 in parts | $1,200 – $4,000 water damage + drying | 24 months |
| Re-caulk toilet base | $5 – $15 | $300 – $700 subfloor repair | 24 – 36 months |
The pattern is the same every time: the small task costs less than $30 in materials; the deferred cost is 20 to 100 times that. A $4 bead of caulk at the tub deck, left 18 months, turns into substrate repair in the $400 – $900 range. A $15 supply line left leaking behind the vanity for two years costs $1,200 – $4,000 in water damage and drying. Every one of these is preventable with a $10 checklist and an hour a year.
The dollars aren’t the whole cost, either. Deferred maintenance on a bathroom kills resale value and drags the whole project into question. When you sell a Doral home with a maintained bathroom, you can show the maintenance log – which buyers treat as evidence the remodel was done right. When you sell with a log that shows nothing after year one, buyers assume the worst.
What Your One-Year Warranty Covers (and Doesn’t)
The one-year warranty on a bathroom remodel typically covers defects in materials and workmanship – a tile that pops, a grout line that cracks, a seam that separates, a drain that leaks within the first year. It explicitly excludes anything caused by lack of maintenance, normal wear, or homeowner-applied products. Read your warranty for the exact exclusions, but here are the ones we see most often:
- Covered: Failed substrate, cracked tiles from install error, leaking valve packing, improper caulk adhesion (if the install was wrong, not the maintenance).
- Not covered: Mold behind caulk, failing grout sealer, damaged drywall from exhaust fan neglect, water damage from unmaintained supply lines, any damage from homeowner-applied caulk or sealer that was incorrect for the product.
The maintenance log is your protection in a warranty dispute. If the warranty claim is “our installer failed,” the log is evidence the homeowner did or didn’t maintain. If the log shows silicone caulk replaced at month 12 and again at month 24, and the manufacturer is claiming the joint was left too long, the log settles it. If the log is empty, the manufacturer’s warranty stands and the homeowner eats the cost. Keep a simple record: date, task, product used, and a photo. That’s it.
Our Rowan Construction Group Doral team hands every customer a maintenance calendar at closeout with the tasks, the products, and the intervals already filled in. That’s part of the 365-Day Done Right Promise – we make it right, and part of making it right is making sure you know what comes next.
Common Mistakes to Avoid
- Re-caulking over failing caulk. New silicone won’t bond to old silicone. Strip it out completely, let it dry, then apply. In Doral’s humidity, a joint that’s failing needs replacement, not a touch-up.
- Applying grout sealer too early. Cementitious grout needs its full curing window – usually 7 to 28 days, depending on the product. Sealing before cure traps moisture and voids the stain warranty on Mapei and Laticrete lines.
- Assuming porcelain tile means no maintenance. The tile doesn’t need sealing, but the grout lines between it do – and those are the failure point in every Doral bathroom we’ve inspected.
- Never testing the exhaust fan. A 50-CFM fan that’s dropped to 33 CFM is indistinguishable from a working fan unless you test it. Test annually.
- Skipping the month-6 inspection because “everything looks fine.” Bathroom failure is almost always hidden – behind a caulk bead, under a tile edge, in the substrate. The six-month check is where you catch it before it’s visible.
- Not keeping a maintenance log. When a warranty claim comes up, the log is the evidence. Empty log, no claim.
- Ignoring small leaks under the vanity. A $15 supply line left leaking for 24 months does $1,200 – $4,000 in damage. Check the supply lines and shutoff valves every two years.
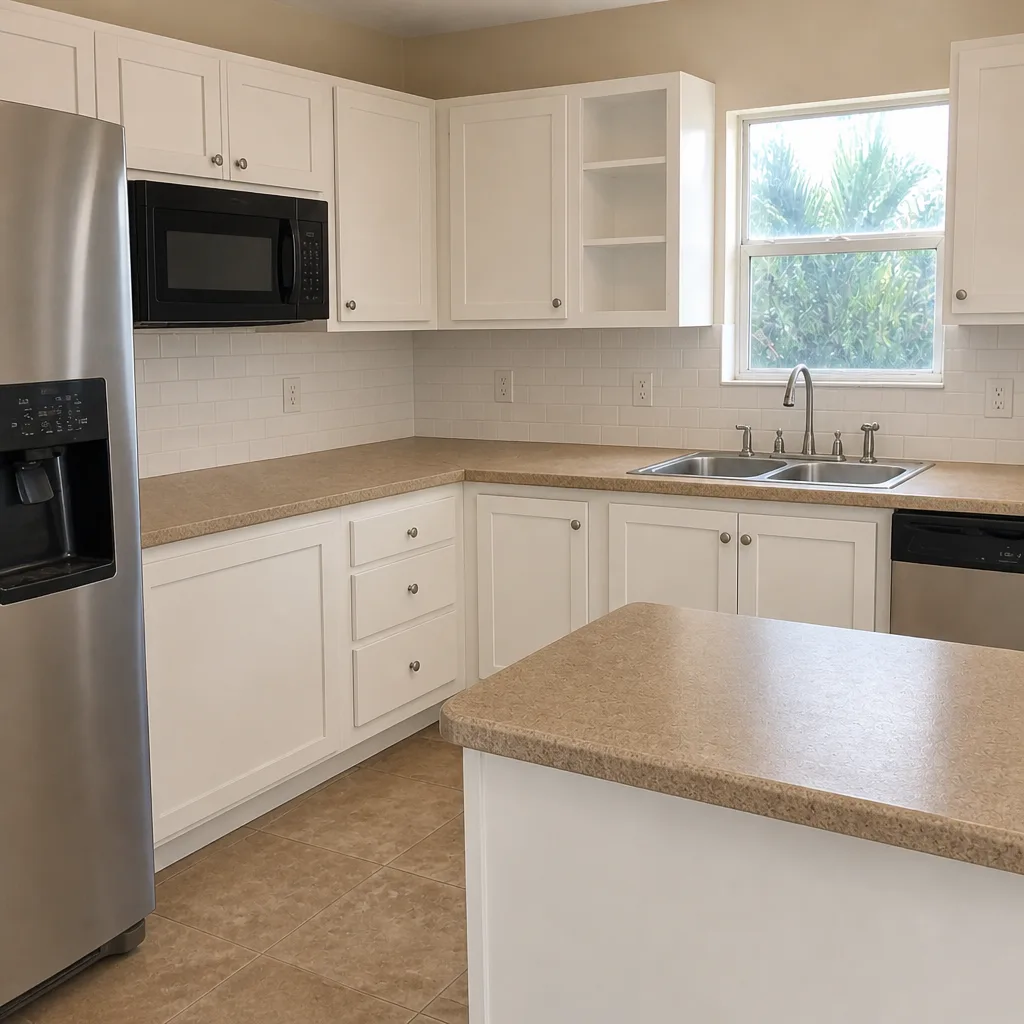
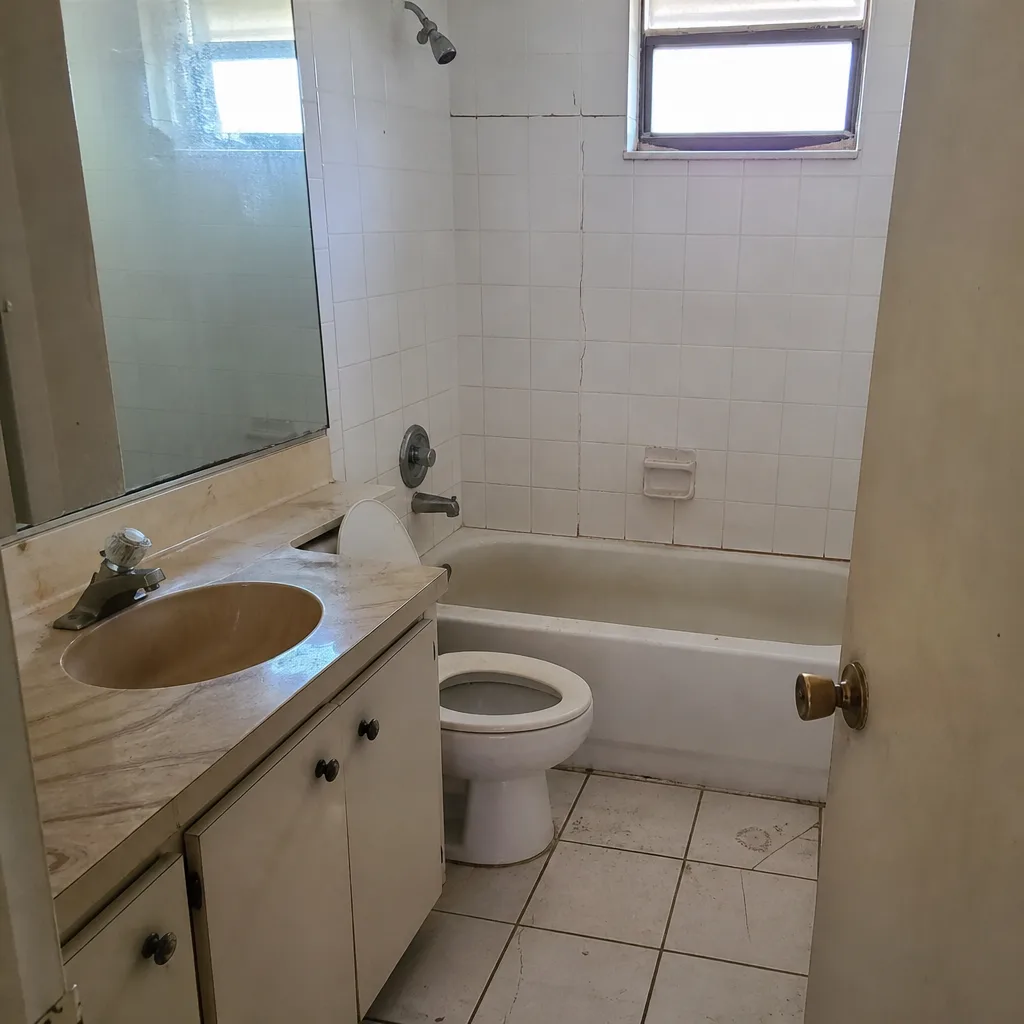
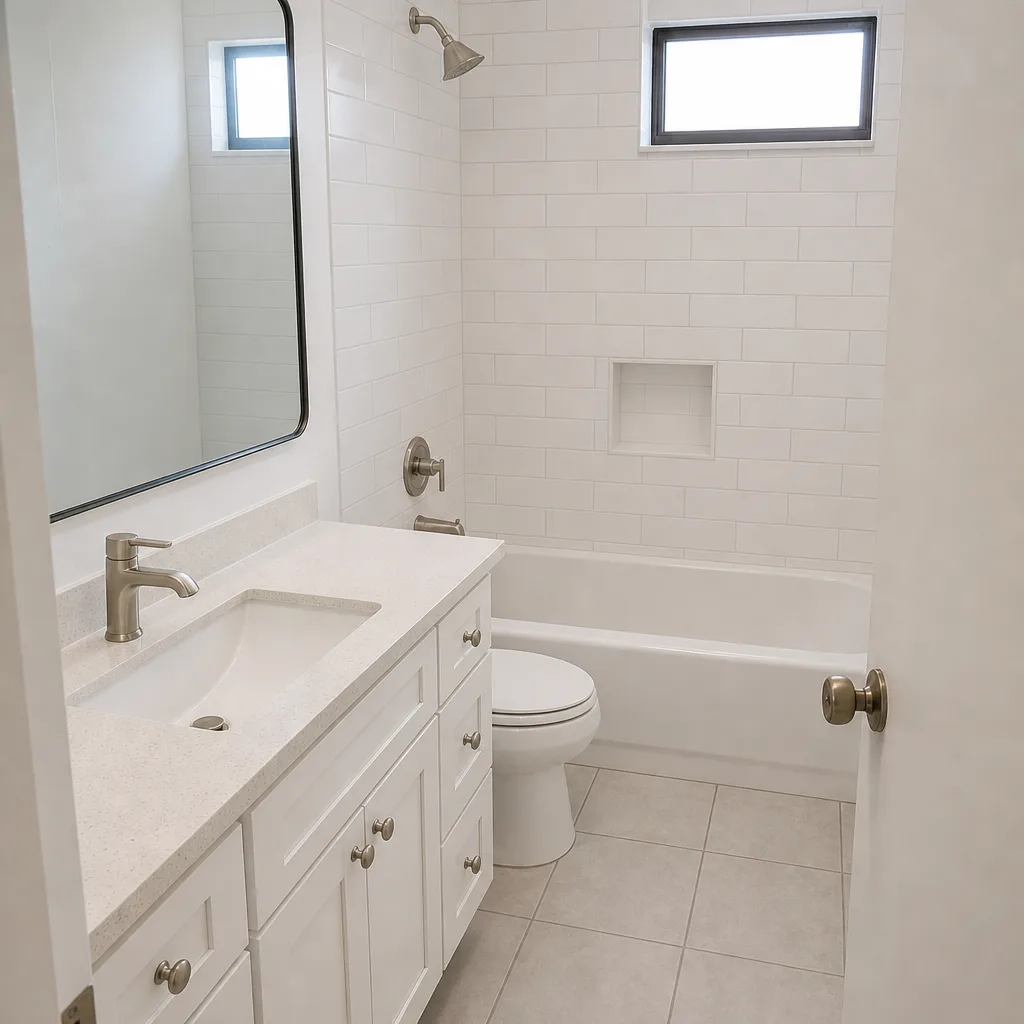
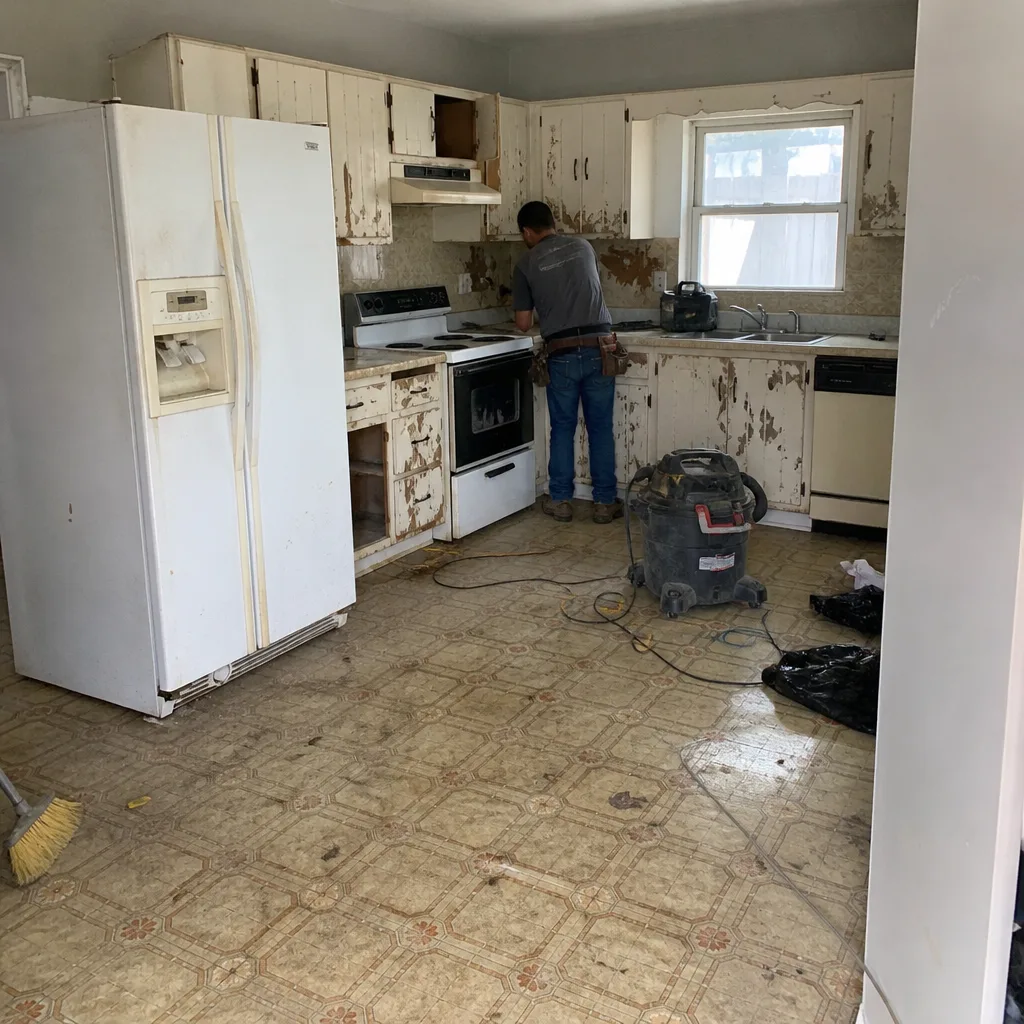
See the difference
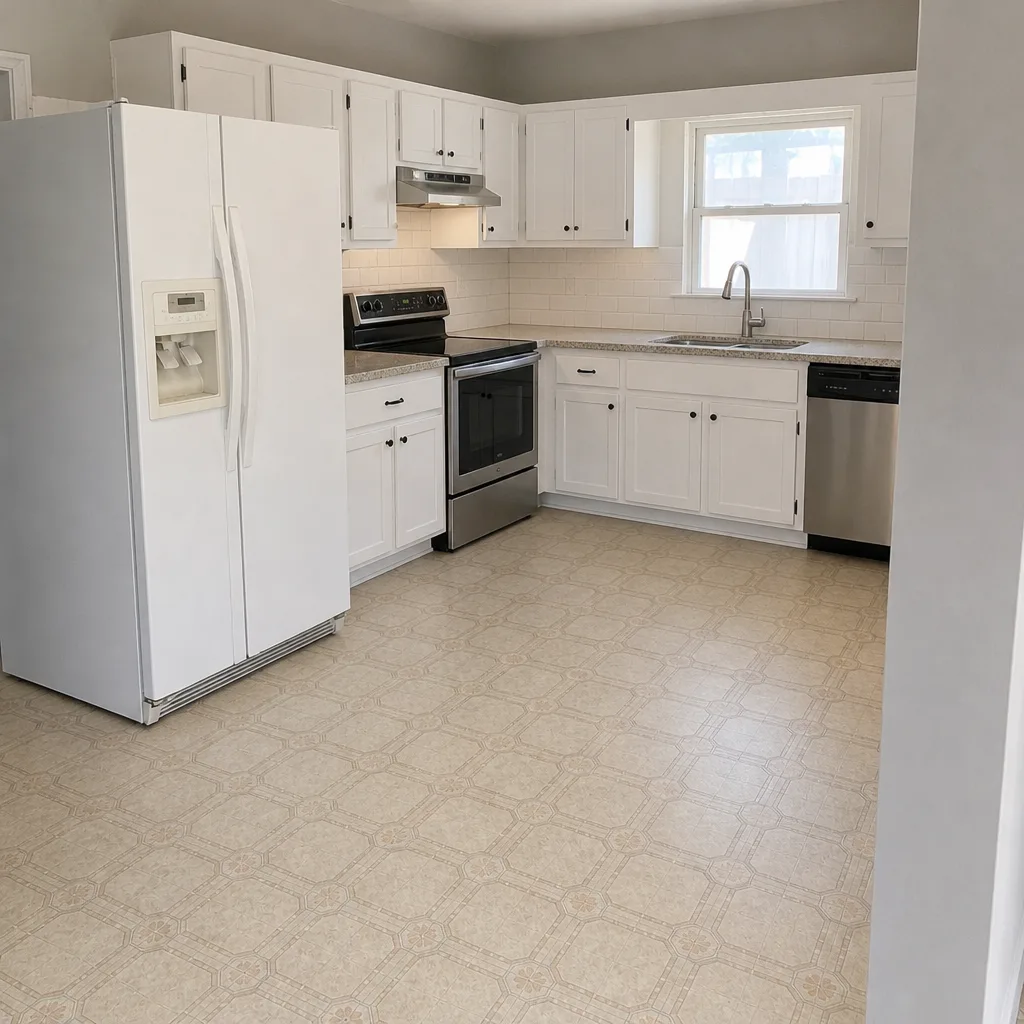
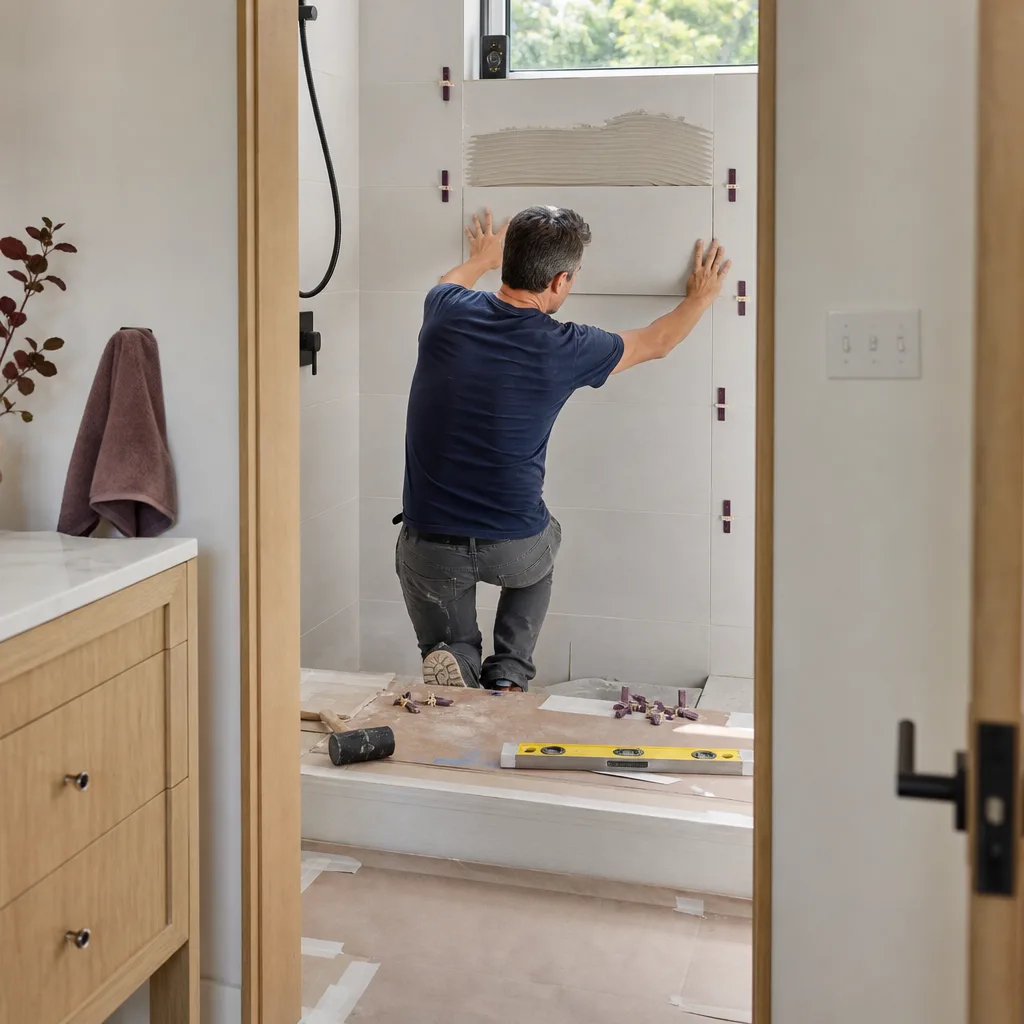
 Before
 After
 Before
 After
 Before
 After
When to Call a Professional
Most of the schedule above is homeowner work. A few items aren’t: anything that involves opening a wall, removing a tub or shower pan, investigating moisture damage, or re-sealing a shower pan where the substrate is suspect. Call a professional if the tile is loose or hollow-sounding, if grout keeps crumbling after re-sealing, if you find soft drywall behind the vanity, if there’s a persistent musty smell even after the fan’s been tested and cleaned, or if the shower pan is moving when you step on it. Any of those means the substrate is compromised, and no amount of caulk or sealer fixes a substrate problem.
Rowan Construction Group Doral offers free estimates on any bathroom project – and a free Second Opinion on any written estimate you’ve collected from another contractor, reviewed line by line at no charge. Call (888) 300-3896 to schedule yours.
Frequently Asked Questions
Every 12 to 18 months for cementitious grout, with the first application between 6 and 12 months after install. In Doral’s humidity, tighten the schedule to every 9 to 12 months. Check the specific product data sheet – Mapei Keracolor and Laticrete 1500 publish different curing and sealing windows. Call (888) 300-3896 for an exact recommendation on your specific product, and estimates are free.
About 12 months in a wet zone before it needs replacement, though high-use showers can fail at month 9. Regular inspection at month 6 catches the failure before it starts. If the caulk lifts, discolors, or feels spongy, it’s holding moisture and needs to come out entirely, not be touched up. On a 12-month cycle, plan for full replacement of every joint in the wet zone once a year.
At least 50 CFM for intermittent use and 20 CFM for continuous operation, per building code. Most Doral bathrooms meet the minimum but lose 10% of their CFM per year to dust and lint. Test with an anemometer annually and clean the grille every six months – a fan running below 50 CFM is functionally absent and allows moisture damage that costs $800 – $2,500 in remediation.
No. Mold behind caulk is typically excluded because it’s caused by inadequate maintenance, not install error. The maintenance log is your protection in a warranty dispute – if the log shows caulk replaced on schedule and the failure happened anyway, it’s a different conversation. Read your warranty’s exclusion section carefully and keep records of every task performed.
Yes, on the seal and caulk schedule. Doral’s humidity accelerates caulk and grout seal failure, sometimes by 20 – 30% compared to a dry climate. The install itself doesn’t fail faster, but the maintenance calendar needs to be tighter – 9 months for sealer reapplication rather than 12, and caulk replacement every 12 months is not optional.
An undetected supply line leak behind a vanity or toilet, which can do $1,200 – $4,000 in water damage within 24 months. Second is exhaust fan neglect, which turns into $800 – $2,500 in mold remediation. Both are preventable with a 20-minute annual inspection and $15 – $40 in parts. The maintenance schedule pays for itself the first time it catches one of these.
The Bottom Line
A bathroom remodel lasts as long as the maintenance calendar behind it. The four big intervals are caulk cure verification at month 1, grout sealer at months 6 – 12, exhaust fan CFM testing twice a year, and the annual silicone caulk replacement cycle that starts at year one. After year one, valve packing and supply line inspections move to the 24-month cycle and need to stay there. Every one of these tasks is cheap and simple; the deferred cost of skipping them runs $400 – $4,000 per failure. Keep a log – it’s your proof in a warranty dispute and the reason a Doral buyer pays a premium for a maintained bathroom over an untouched one.
If you’re planning a bathroom remodel rather than maintaining one, we’d be glad to walk the numbers with you. Rowan Construction Group Doral delivers a written price before any work starts, a signed change order before any change (no exceptions), a 365-Day Done Right Promise, and a documented photo record on every visit. We’re a construction contractor connecting you with independent local professionals who perform the work, and every crew member is background-checked before they arrive. Call (888) 300-3896 for a free estimate – and bring a competitor’s quote if you’d like a free second opinion, reviewed line by line at no charge.
Written by the team at Rowan Construction Group Doral.